Using A Mood Board To Plan Your Next Bullet Journal Theme
Hello! Ericka from @Crafteinated here with a fun tool to help you create your spreads and brainstorm to bring your ideas to life!
Using a mood board can help you collect your ideas to hone in on the perfect aesthetic! I have included a printable template that can help bring your designs into your bullet journal. I hope that you can find inspiration from this creative exercise.
Supplies used for Mood Board:

Any size Archer & Olive journal will work for this project!
Archer & Olive Notepad: I used a B5 blackout piece
Pens: I used a mix of the Acrylographys and the new gel pens from the December Subscription Box as well as the Messy and Bright box.
Washi and Stickers: I used the new Crescent Moon collection!
Printable Guide
You can use code Crafteinated10 for 10% off most Archer & Olive products!

Getting Started
The first thing you will need to do is select the journal you will be doing the spread in. If you are using white pages, the printable will be perfect to get you started. If using another colored paper, you can use this template as a guide to recreate it, just like I am doing on black paper!
Collect whatever supplies you think you may use. This is a creative process so just pull whatever you think may work.
Setting up Your Mood Board and Getting Creative

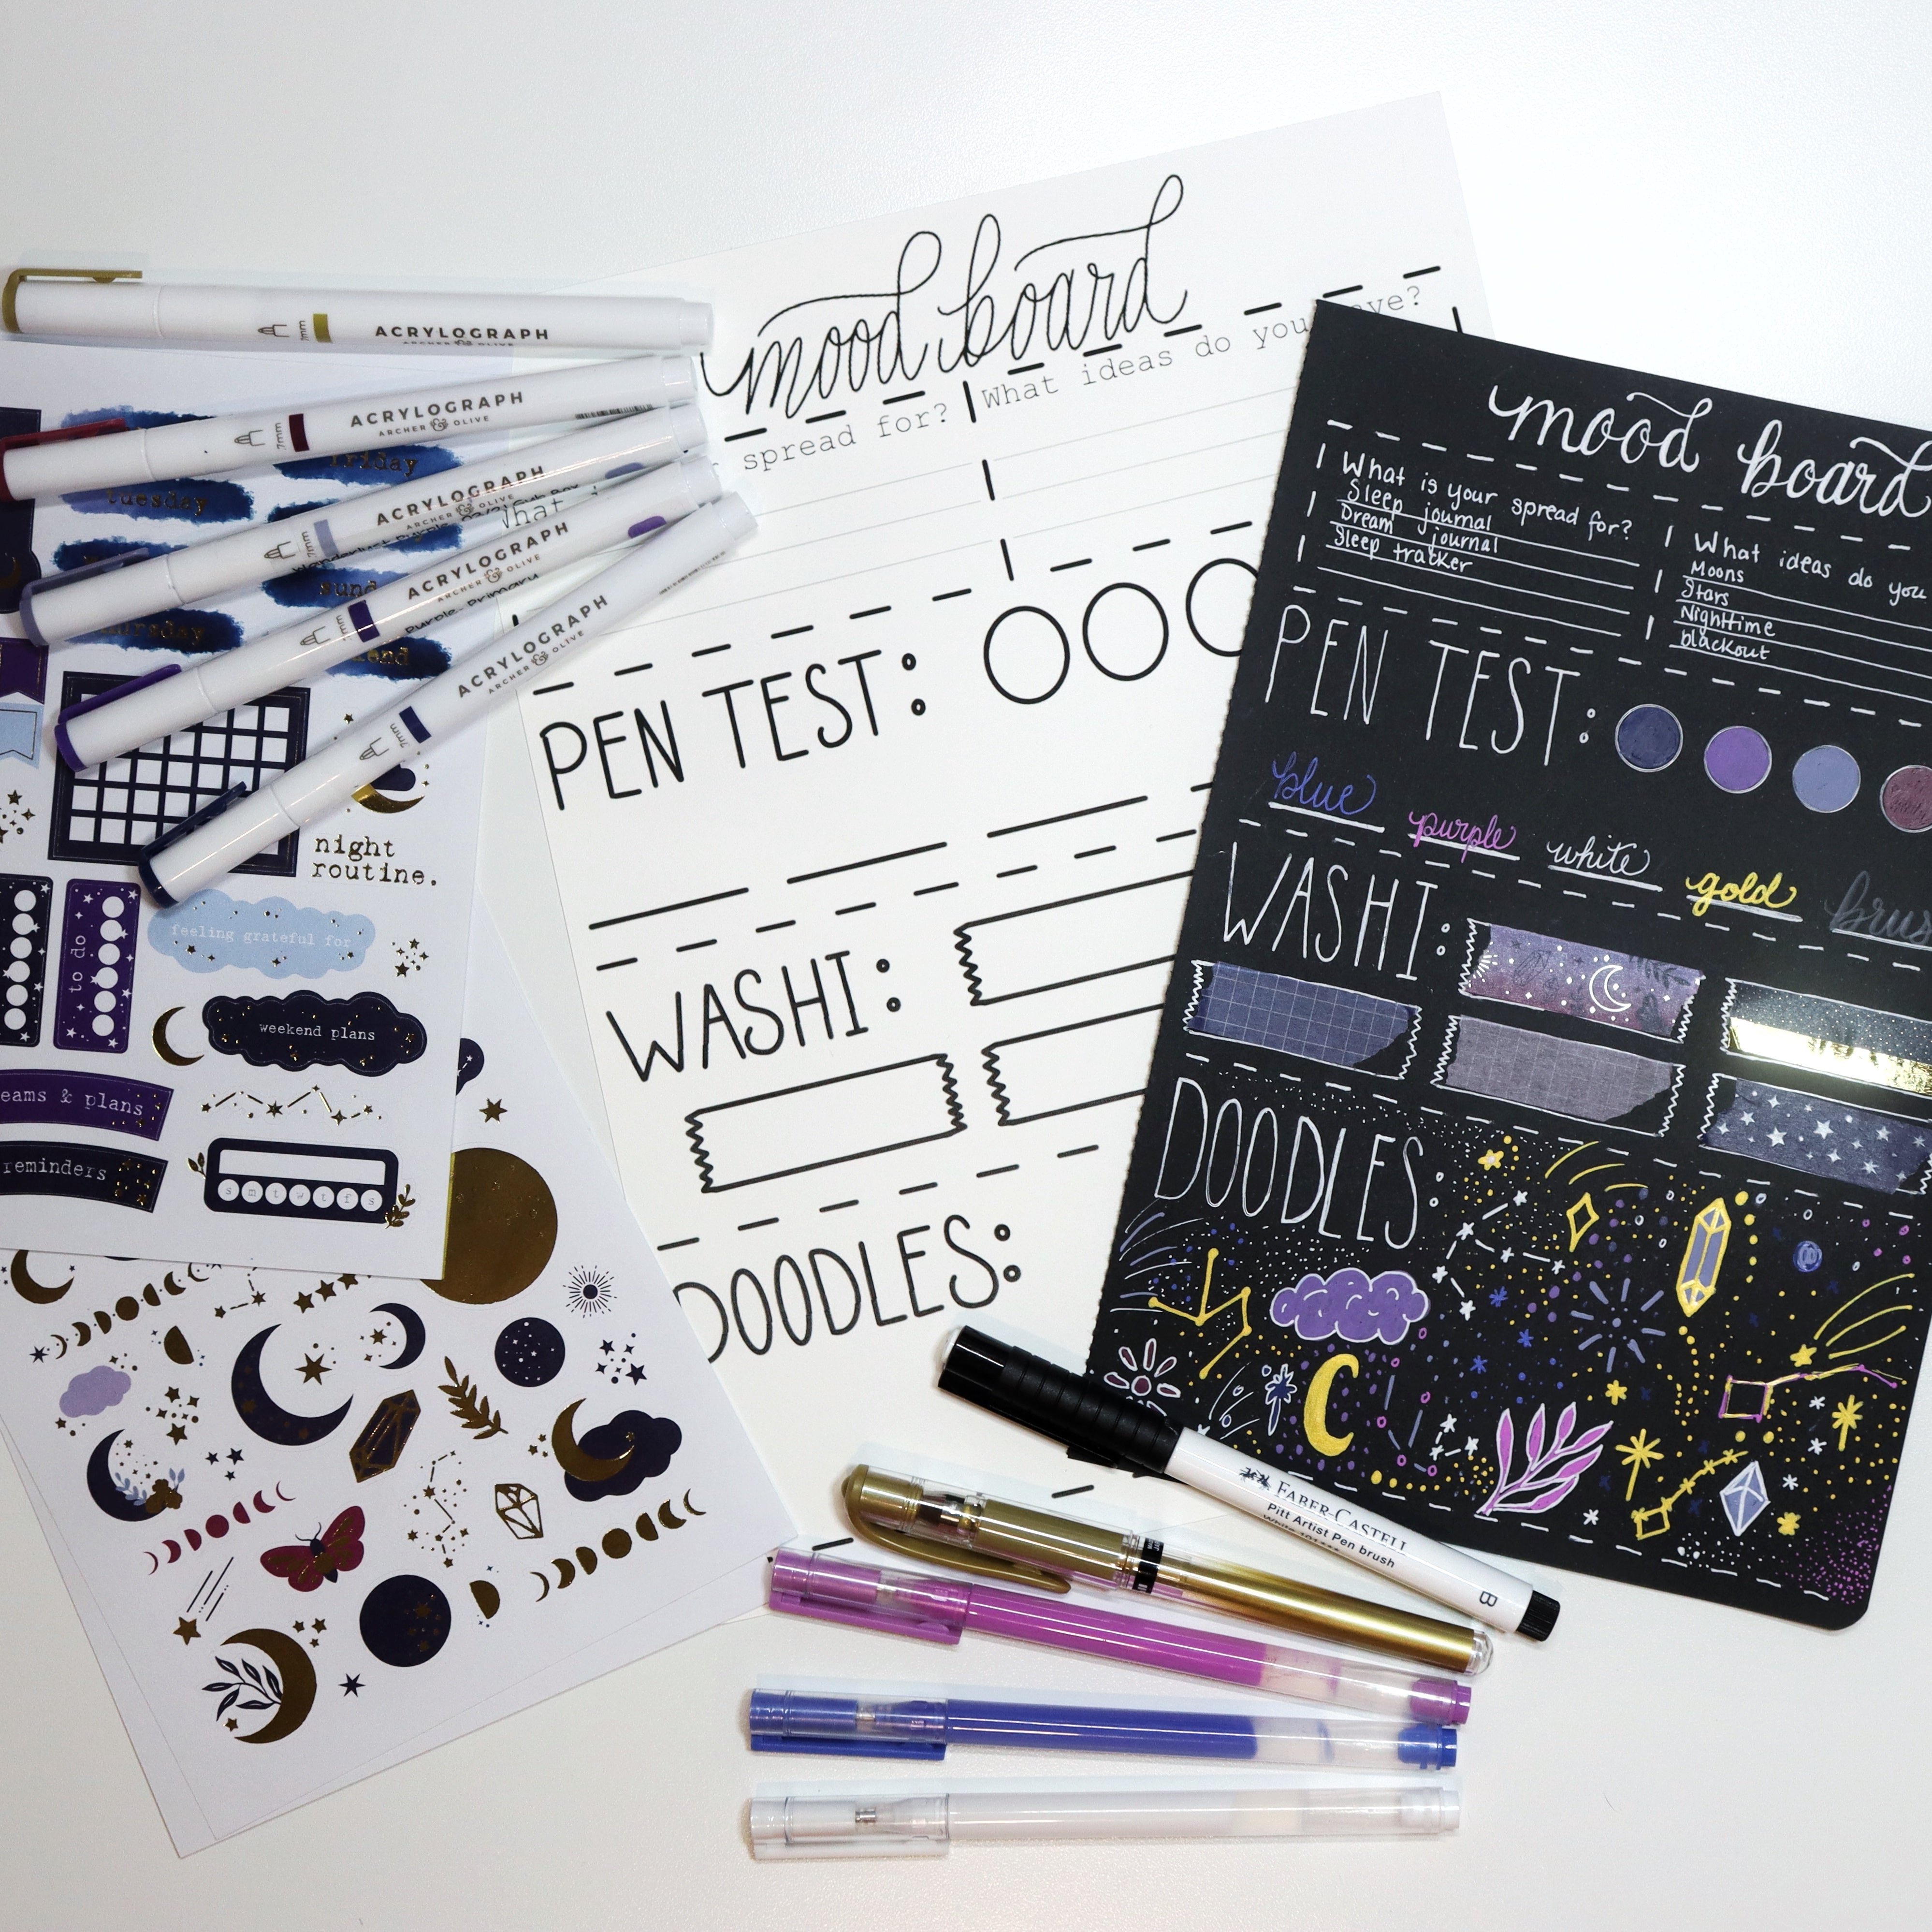
First, I started by mapping out my page and delineating my sections. I put “mood board” at the top.

I then made areas for each of the items I want my mood board to hold, as well as some questions to ask myself when I start brainstorming what I am envisioning.
The questions are: “What is your spread for?” and “What ideas do you have?” This is a good starting point to begin looking into what it is that you want your spread or theme to do for you, as well as what creative aspects you want to bring to it.
Then, there is a place for a pen test. I have placed 5 circles as well as 5 blanks to try out the pens. I will be using the circles for things like a paint pen, or acrylograph, and the lines for something where you can practice what a brush tip would look like, such as the calliographs.

The washi sample is a great way to see how the washi will look with your pens, as well as any stickers you may have. I did not place any stickers down on the page because I want to save them for the actual spread!
In the doodles section you can really get creative and think about what you would like to include in the spread you are making. No worries if something doesn’t come out the way you had hoped because this is just practice.
Finished product

Now that your mood board is set up it is time to use this powerful tool to get to work inside of your journal! I keep mine folded up in the back pocket of my Archer & Olive journal so that I can pull it out and get inspiration from it at any time!

Even without the stickers this mood board is ready to go!
Printable

This entire setup is ready to download and print! You can use this over and over to plan your spreads! Also, if using different colored paper, or if you want to add more spaces for other items, this is the perfect template to create your own!!
Download and print the template here:
Video
If you want to see me create the spread and talk through my process please check out the video below.
I really hope you enjoyed this tutorial! If you recreate this tutorial or use the printable please share your creation by using the #archerandolivecommunity hashtag! I’d love to see what you do! Happy Planning!


1 comment
Awesome! Super gorgeous! Now I want them all!