How To: Winter Solstice Illustration + Free Printable!
Hello everyone! Nabaa here from @whimsicall.doodles!
On December 21, Winter Solstice will mark the shortest day and the longest night of the year! It is often regarded as a day to celebrate change, prepare for a new year and mark a renewal.
This is exactly how I am going to approach it this year - by taking the time to slow down, recognize my goals and dreams for the new year and decade, and allow myself to align these goals with my plans for the future!
Hayley over at @hayleyremdeart, discusses some great ways to celebrate this day using your journal! Read more about it over here: Celebrate Winter Solstice In Your Bullet Journal
Ready to get started on your own Winter Solstice spread? Let's get to the fun part! For my December theme AND the final theme of this year and decade, I was inspired by the AMAZING Sosha over at @soshacreates and Hannah at @hannahmariaplans.
Creating this illustration was super easy and more importantly extremely fun!
To get started, you'll need the following supplies:
- Archer and Olive Watercolour Notebook
- Your favorite watercolor paints (I used Payne’s Grey and Prussian Blue)
- A large mop brush (Any large watercolor brush will do!)
- Pencil and eraser
- Circle template (or really just use any round object as I did!)
- White Ink/Paint/Pen
- Sakura Gelly Roll - Gold
Step 1
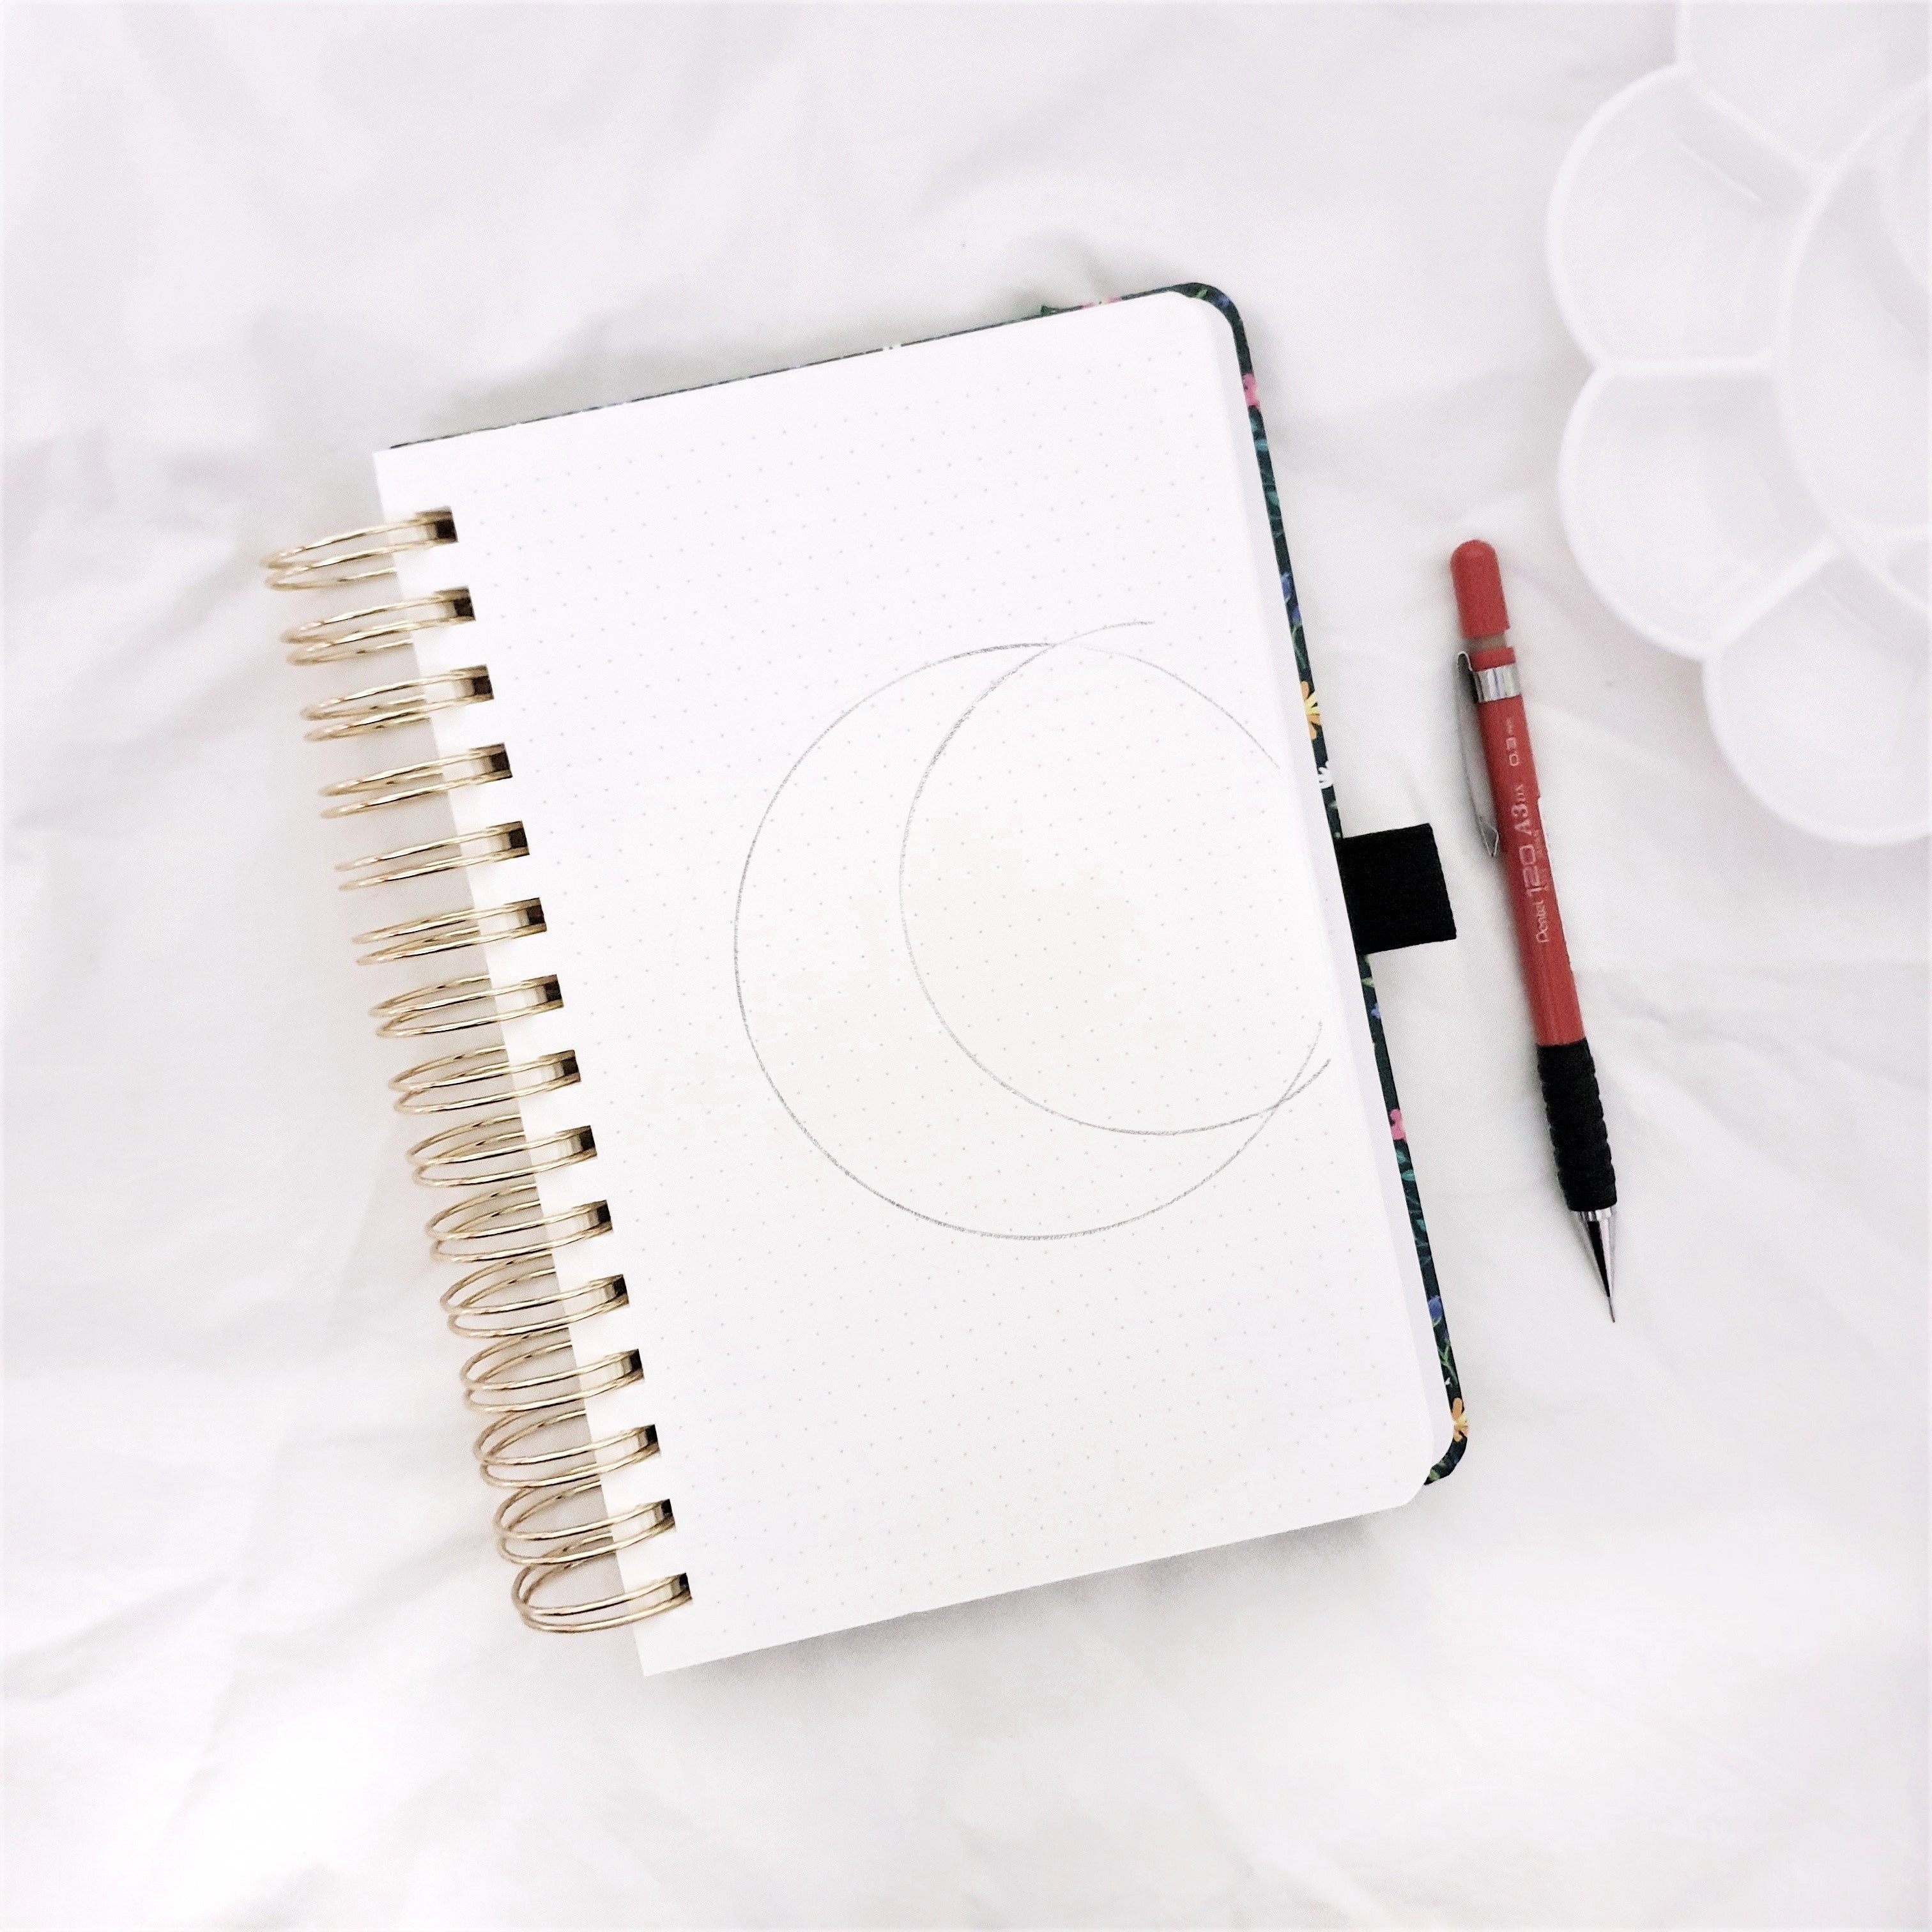
For your first step, you want to draw the moon. Play around with different sizes and positions for your moon. I drew a 3-inch circle for the outer curve of my moon and a 2.5-inch circle for the inner curve. Use a pencil to draw out and connect your circles like in the image below:
Step 2
Once you're happy with your moon shape, gently erase your pencil marks, leaving behind a very light outline. Now comes the fun bit! This illustration uses the wet on wet technique and so you'll need to use paper that can hold a TON of water.
The Archer and Olive watercolor notebook worked brilliantly! This was my first time using it and I wasn't sure how it would turn out. But this baby handled all the water I threw at her and then some! The best part? Absolutely no buckling!
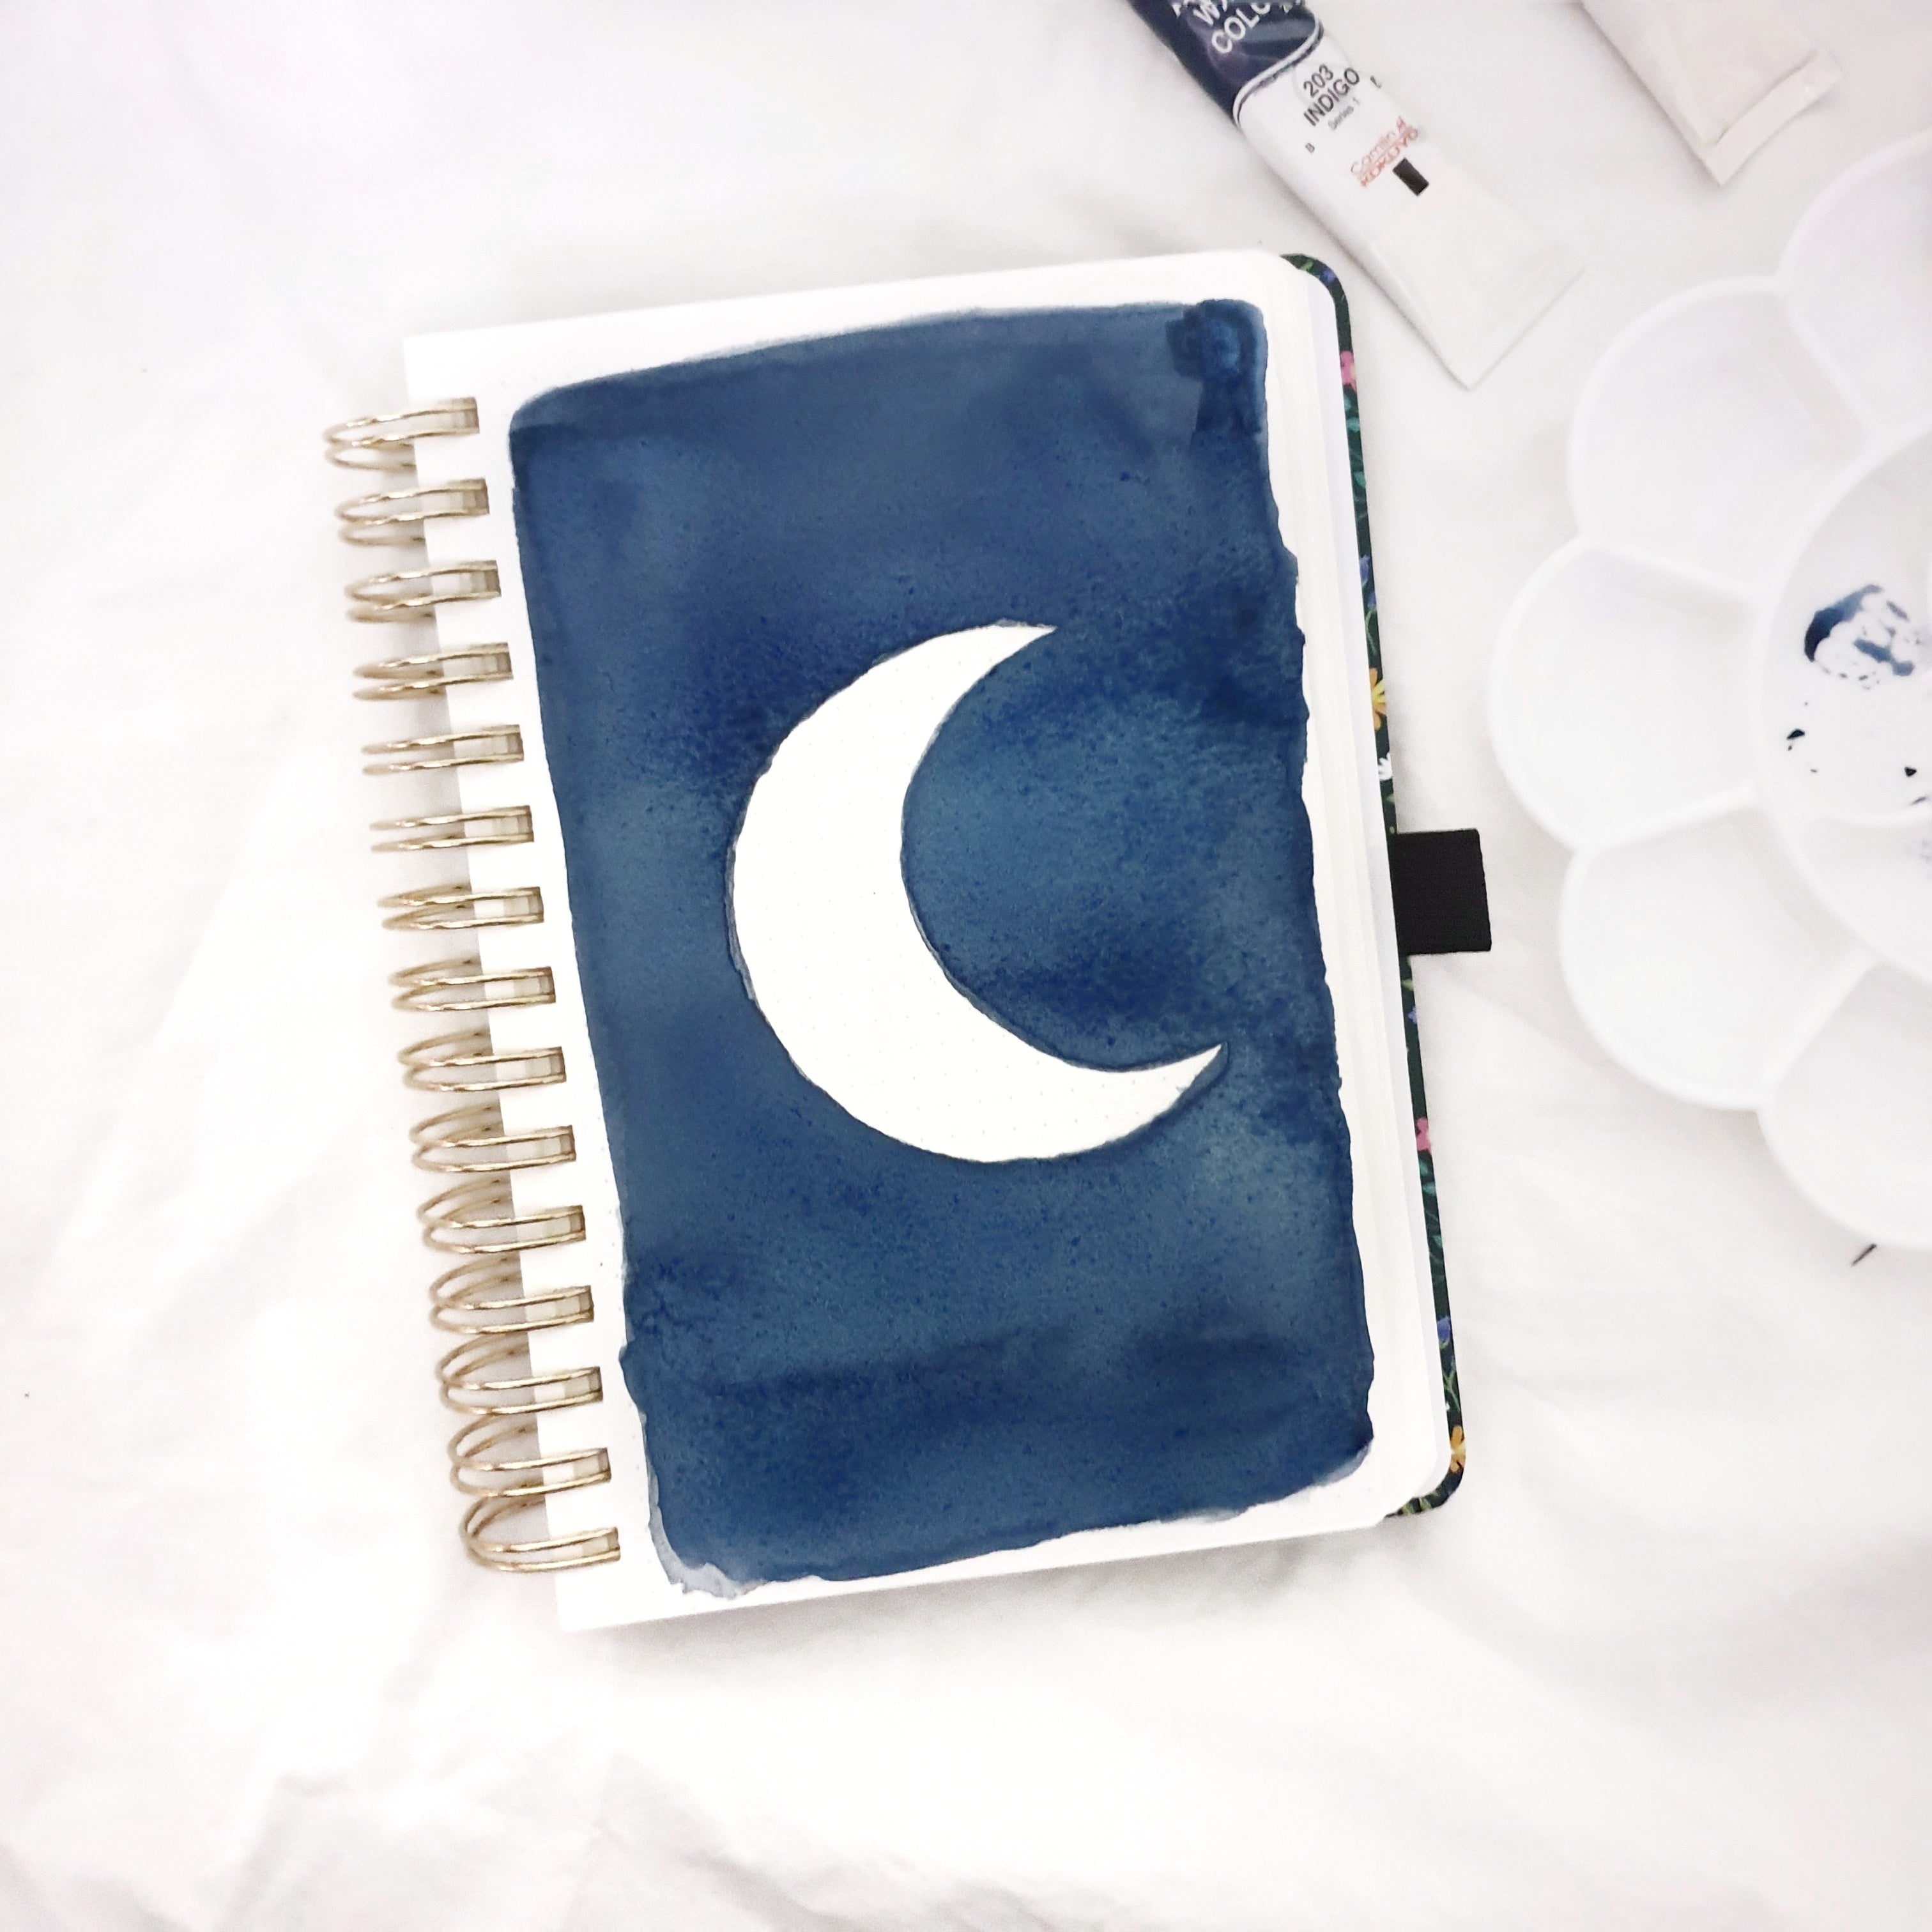
To lay down your first wash of color, wet your paper with water - making sure to go all around BUT not inside the moon. Once your paper is wet, start adding color! You don't have to worry about how it looks. It will all come together in the end, I promise!
Step 3
Allow your first layer to dry and using a wet brush, add your second wash of color! I did this about 3 times to get the color I wanted! You can stop at 2 or even go up to 4 depending on what you like.
Step 4
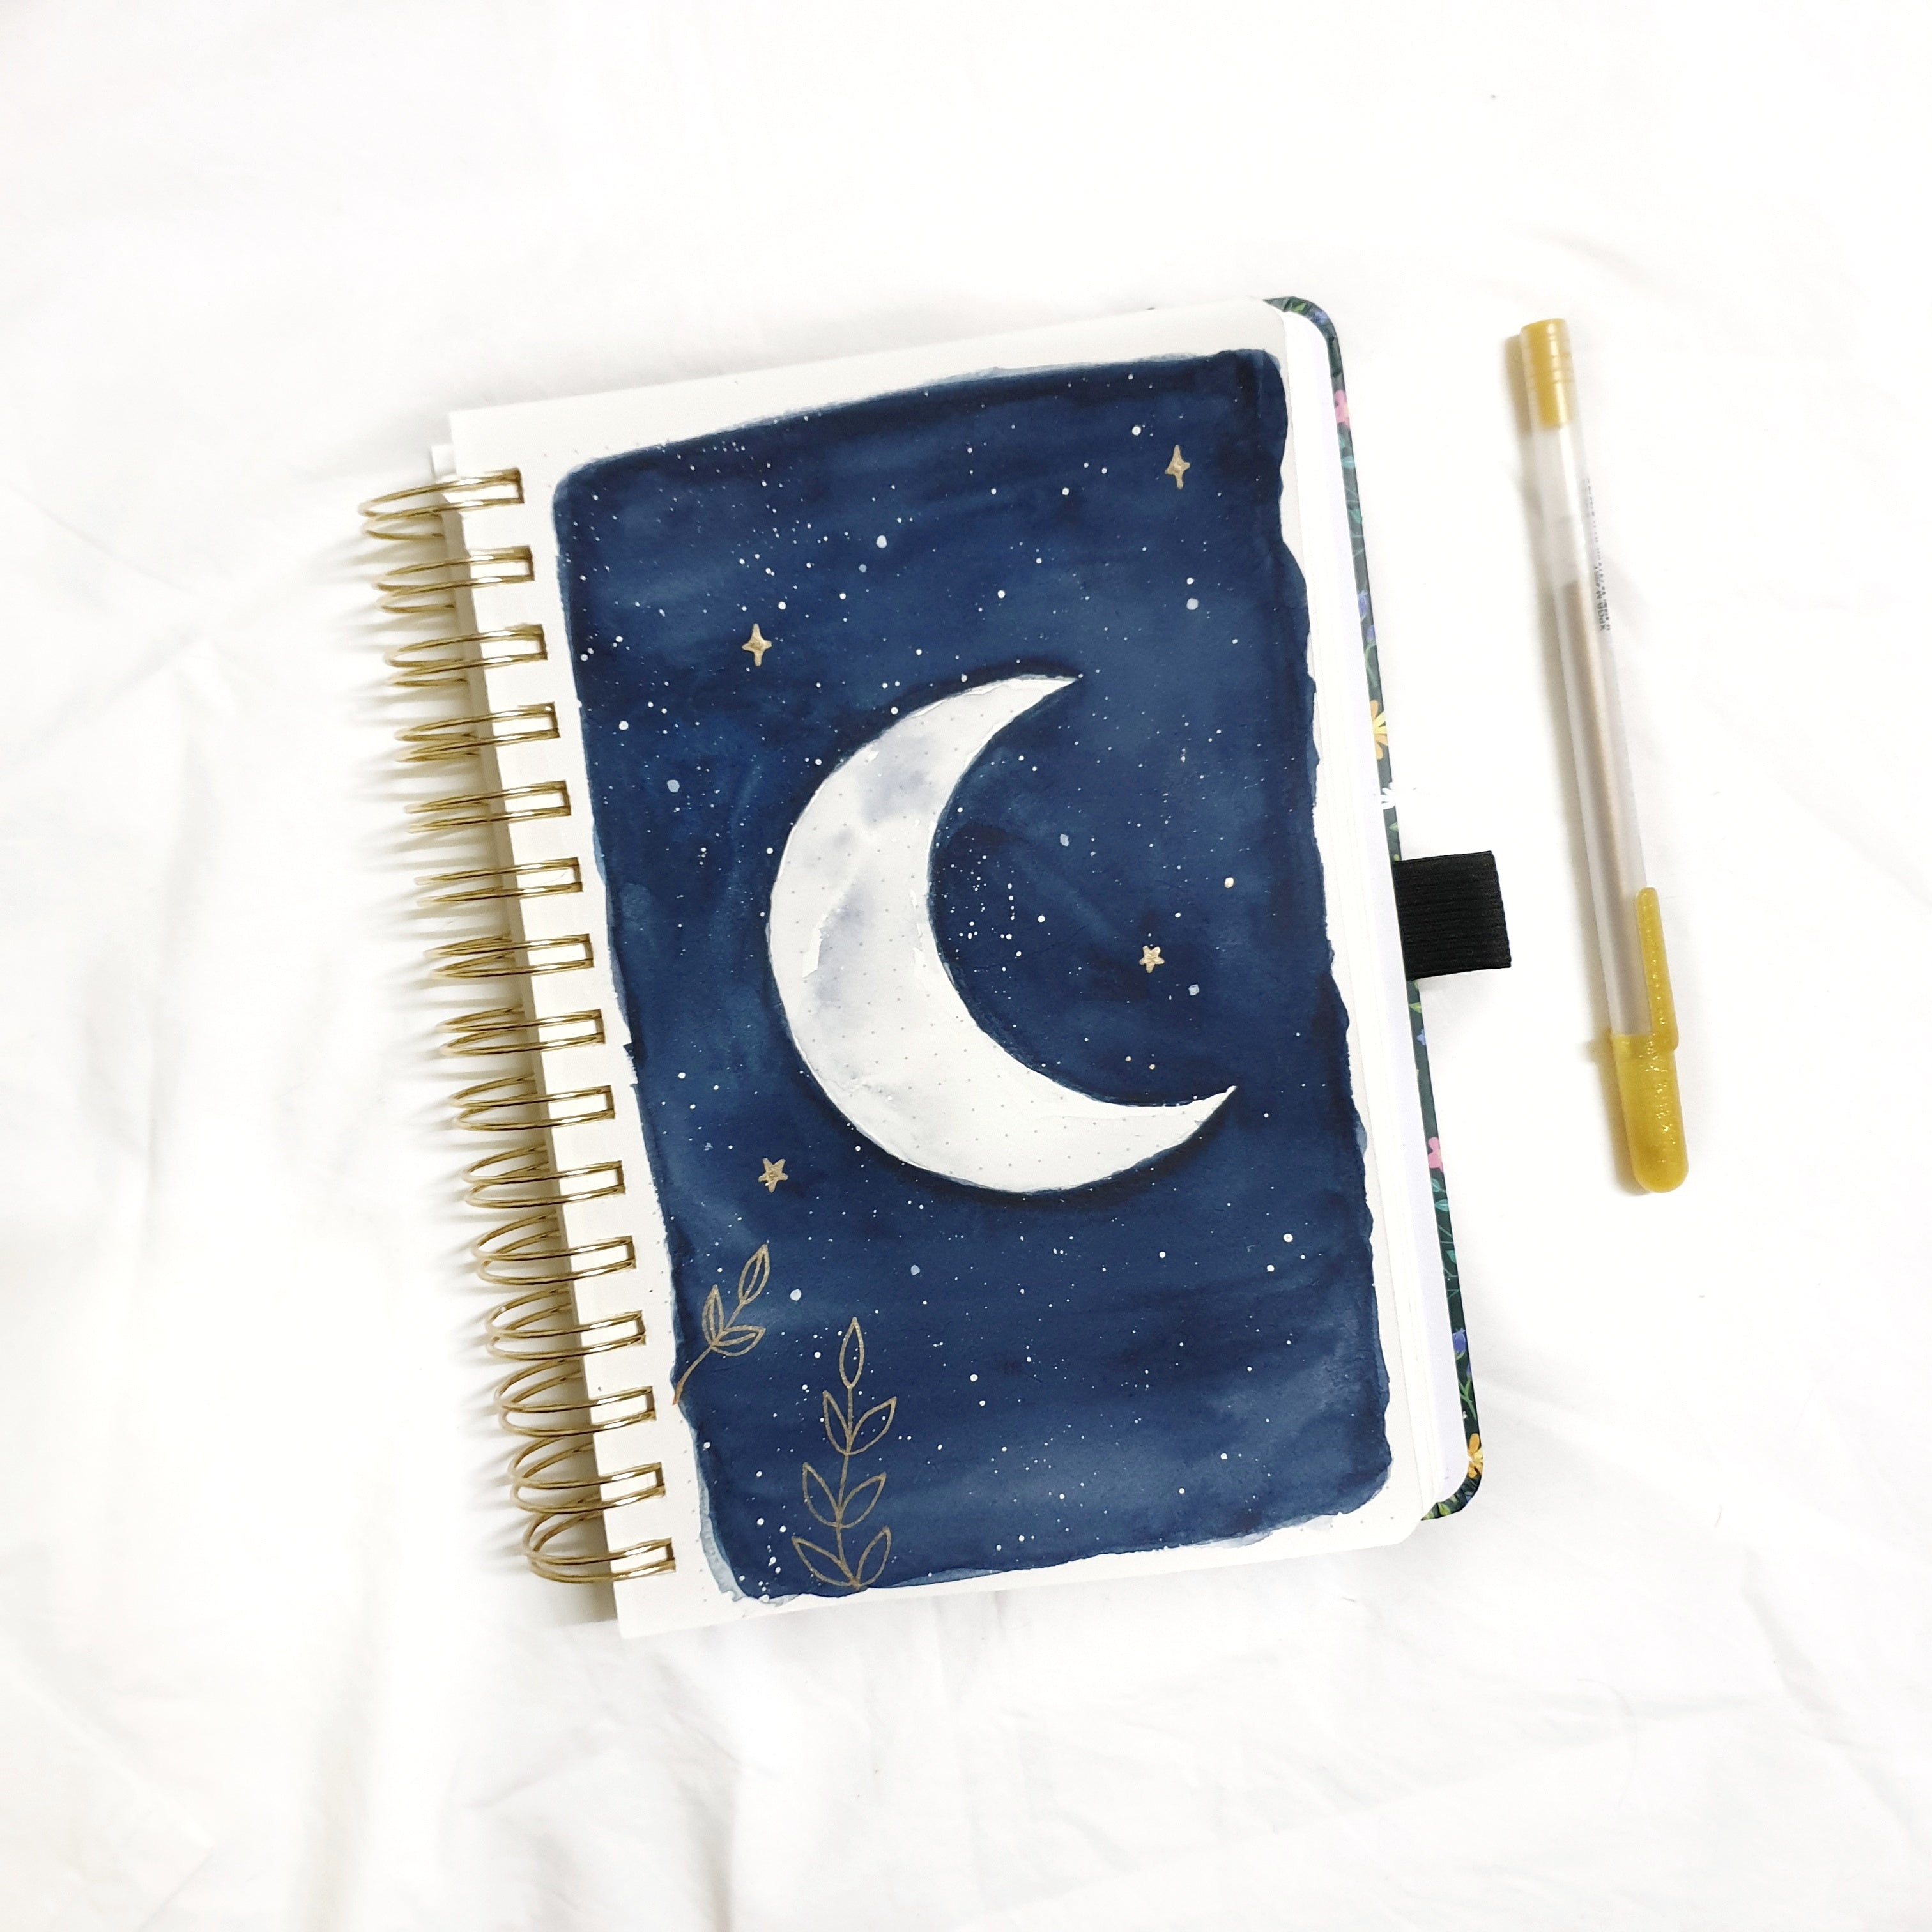
Once I had my final layer of color on, I allowed the paper to dry completely before moving to the next step - Adding stars! I used white ink to sprinkle on little stars. You could use anything really - a gelly roll pen, posca markers, white paint!
Once you're happy with your stars, you can leave it as it is or do as I did and add in small gold details! I added a few gold stars and a range of leaves at the bottom!
P.S. if you want to learn how to draw some of these leaves, check out the free printable guide here!
Add in as many or as few leaf drawings as you'd like.
The final step was adding gold arcs randomly along the top of the painting. Use the same circle template as you did for your moon! And you’re done!
If you'd rather just print out the illustration for your journal, download the free printable here or click on the image below! You can print up to A4 size.
I had an absolute blast creating this piece and I ended up using it in my bullet journal. Keep an eye out on @whimsical.doodles for how I used it as my December spread!


1 comment
LOVED THIS. Came out beautifully. ;D