How To: Monthly Mood Tracker
Hello again! Nabaa from @whimsical.doodles here. I'm back with an easy peasy tutorial on creating monthly mood trackers!
Mood trackers are just that - a monthly tracker that allows you to keep a tab on your day to day mood. It's a great way to gauge how you're feeling and it's always fun to look back on at the completed trackers!
You'll find a range of different trackers out there. There are thousands of layouts you can try! For my own journal, I prefer using a simple circle tracker. I particularly like this setup because it can be incorporated into any theme I'm using! Here are the things you'll need to create your own:
Let's begin! First off, I used my circle maker to draw a 4-inch circle in the center of the page. If you draw a lot of circles in your journal, I HIGHLY recommend getting yourself one of these circle makers. They're pretty handy and I use one all the time!
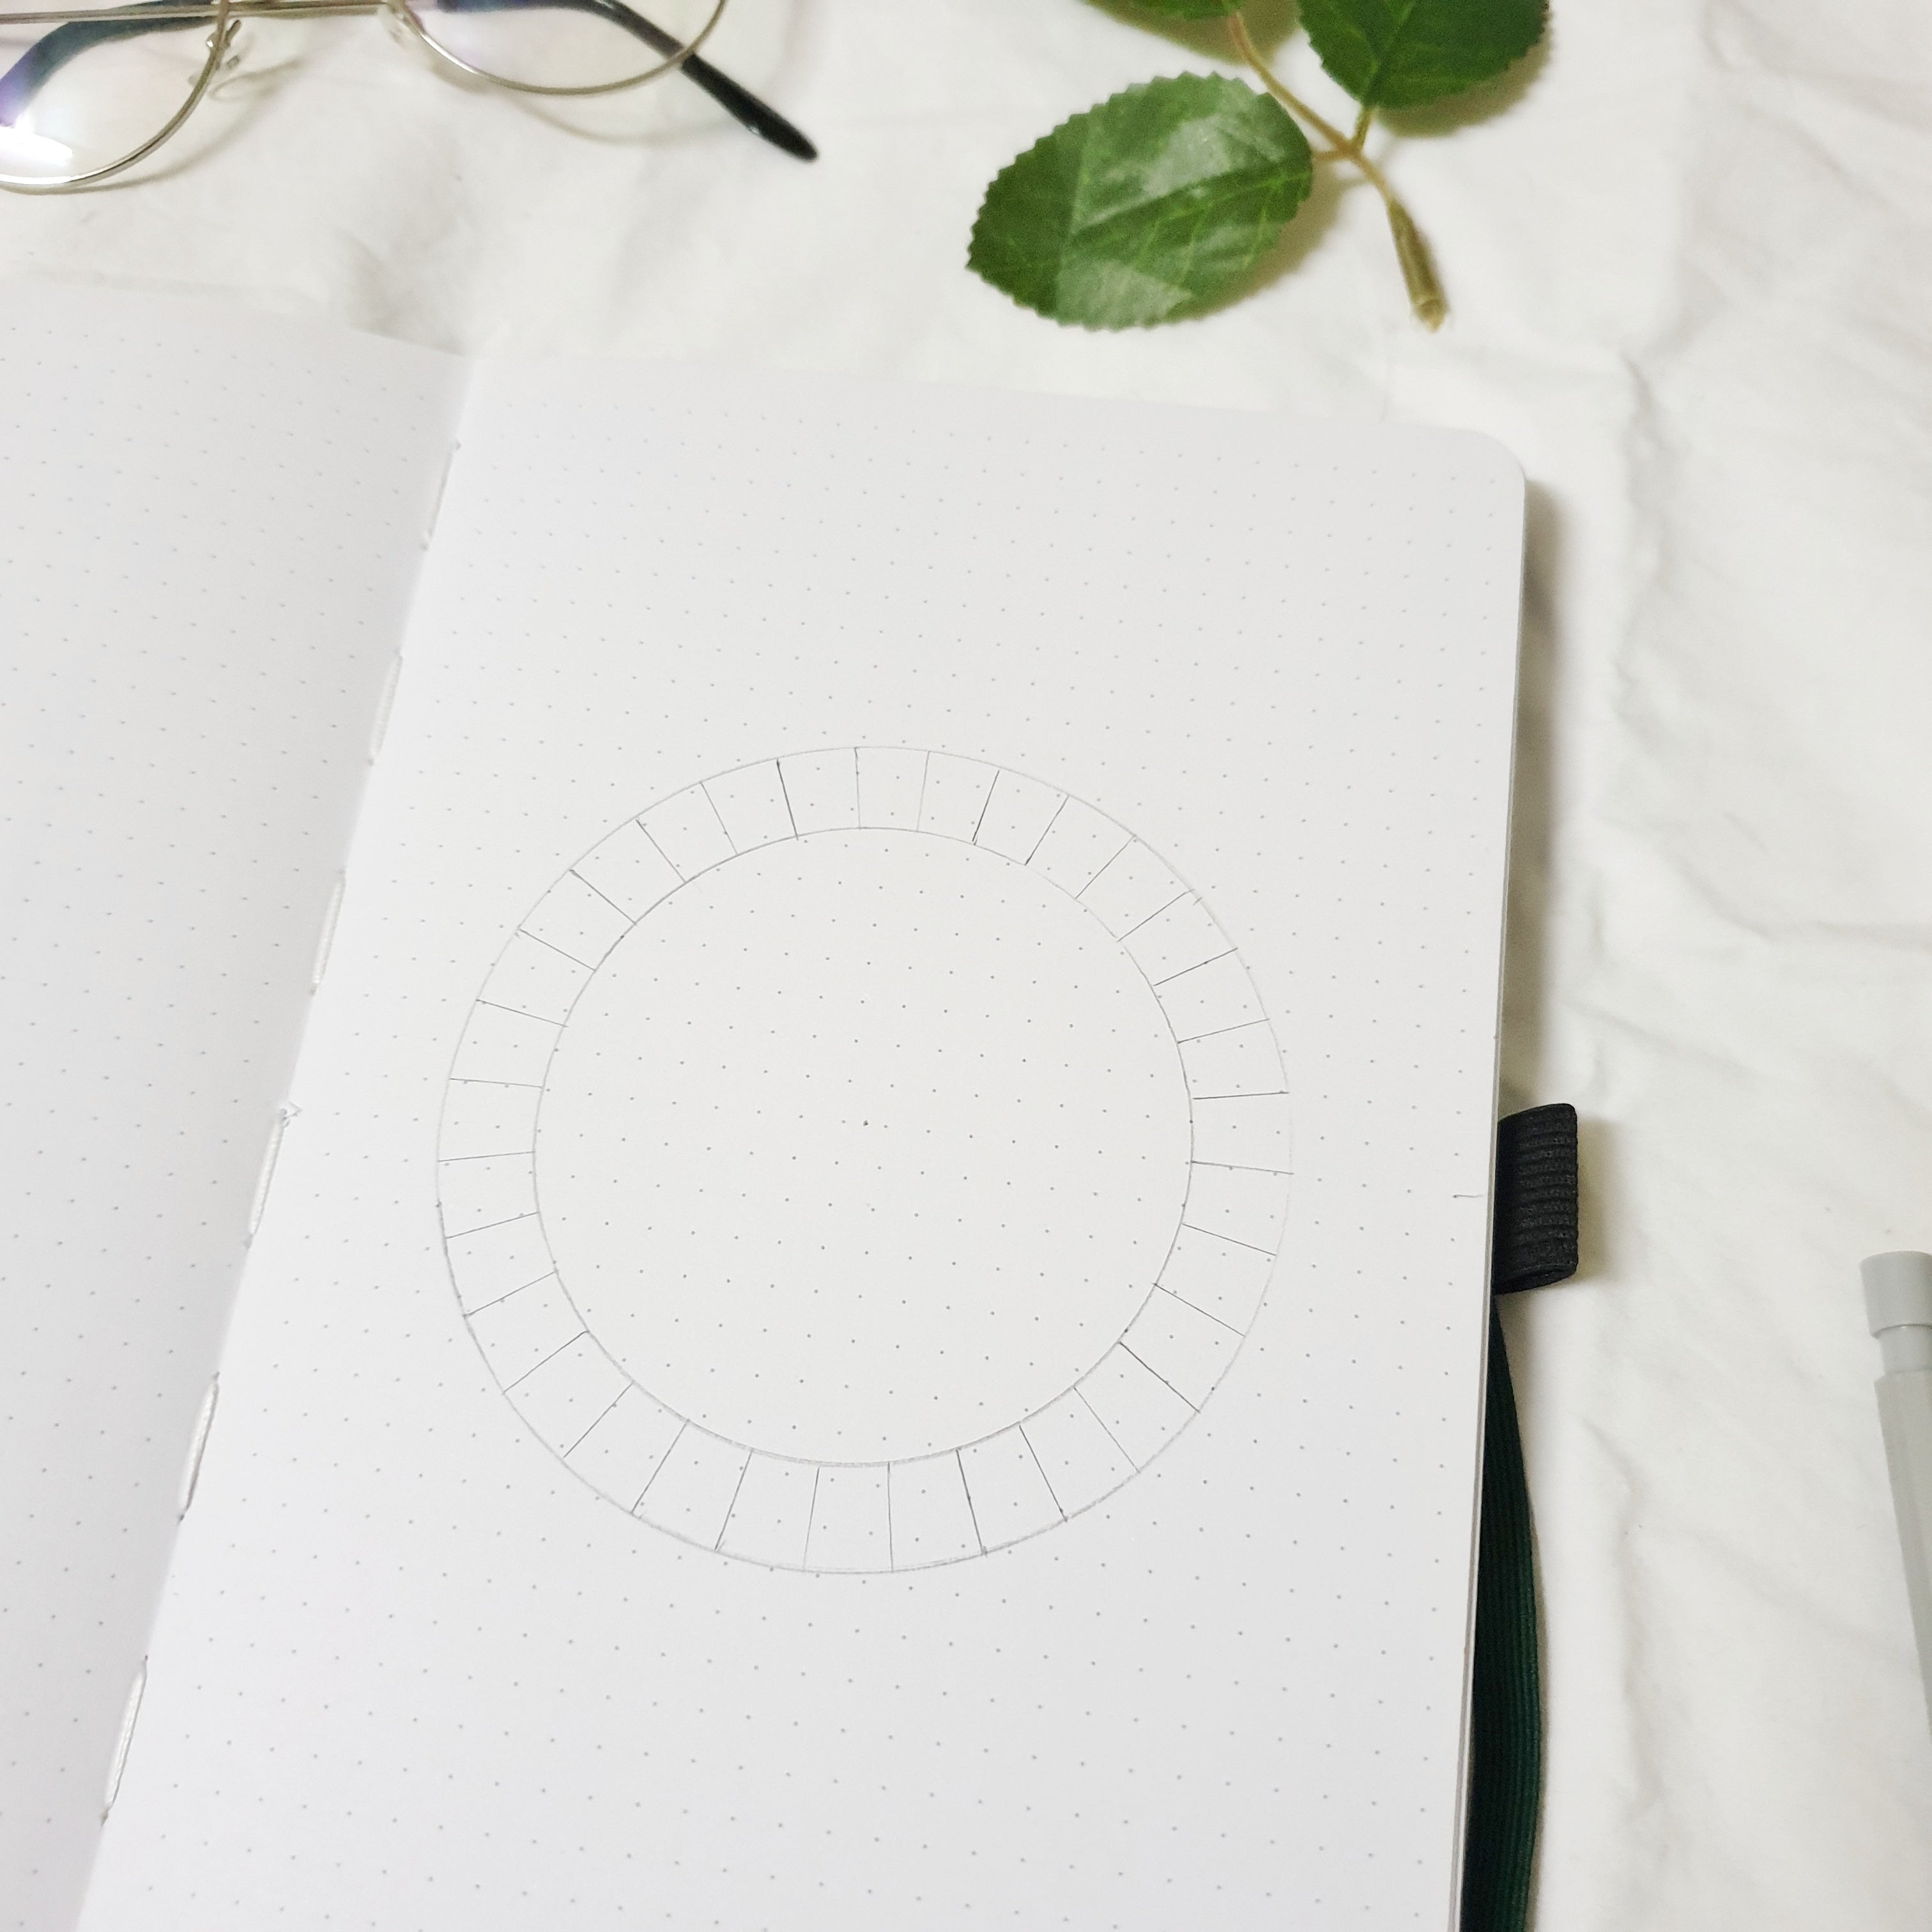
I drew in the circle using a pencil. You can go ahead and use a pen directly or go over the pencil later. Once you have the 4-inch circle, draw a smaller circle inside with a diameter of 3 inches.
Next, divide the circular border you've created into 4 parts like in the image below:
The idea here is we are going to create 32 sections in total. It just makes things so much easier. You can, of course, try and divide the circle into 30 or 31 sections if you'd like but I prefer the easy way out!
Start dividing each quarter into 8 equal parts. Once you have your sections ready, you can either go over the lines in pen or move onto the next step if you've been using a pen all along.
At this stage, you can add in little doodles to your tracker! If you do a monthly theme, you can easily add a little bit of your theme to it. Here I'm adding in little leaves as part of my March theme.
I drew them on using the Posca marker in Khaki. The Posca pens work so well with the Archer and Olive notebook! They're so easy to use so definitely one of my favorite supplies.
I added a few gold details to the leaves. Now the issue of the 32 sections. Since March, of course, has 31 days, I stuck on a small piece of kraft paper onto the tracker to mark the start of the tracker AND take out the extra 32nd section. If you're doing this for a month with 30 days, you can either just add 30 sections or block off 2 days!
Once you've filled out your design, add in the dates and a little key to the bottom of the page and you're done!
I hope this has been useful for you in creating your own tracker! If you'd like to check out more of my work, head over to @whimsical.doodles on Instagram :)


