How To Create Cute Realistic Mushroom Doodles
Hello, Jane Maday here @janemaday. Spring makes me think of nature and growing things. Connecting with nature is a great way to practice self care in your pages. Some of my favorite things to draw right now are mushrooms and toadstools. They are a fun way to add bright colors to your journal. In this blog, I’ll show you how to paint three different types of mushrooms, using acrylic gouache paint and Acrylograph pens.

Supplies that I used for this page:
- Archer and Olive Neopolitan Notepad
- Assorted Acrylograph pens (7mm)
- Archer and Olive Gel pens (optional)
- Holbein Acryla Gouache
- Pencil and eraser
- Paintbrush and water
I should note here that I used acrylic paint as a base color because I drew these mushrooms quite large. If you want to draw them as small accents, you can use the Acrylograph pens for the base color.
If you wish to purchase any Archer and Olive products, you can get a 10% discount if you use my discount code: JaneMaday10!
PREPARATION STAGE
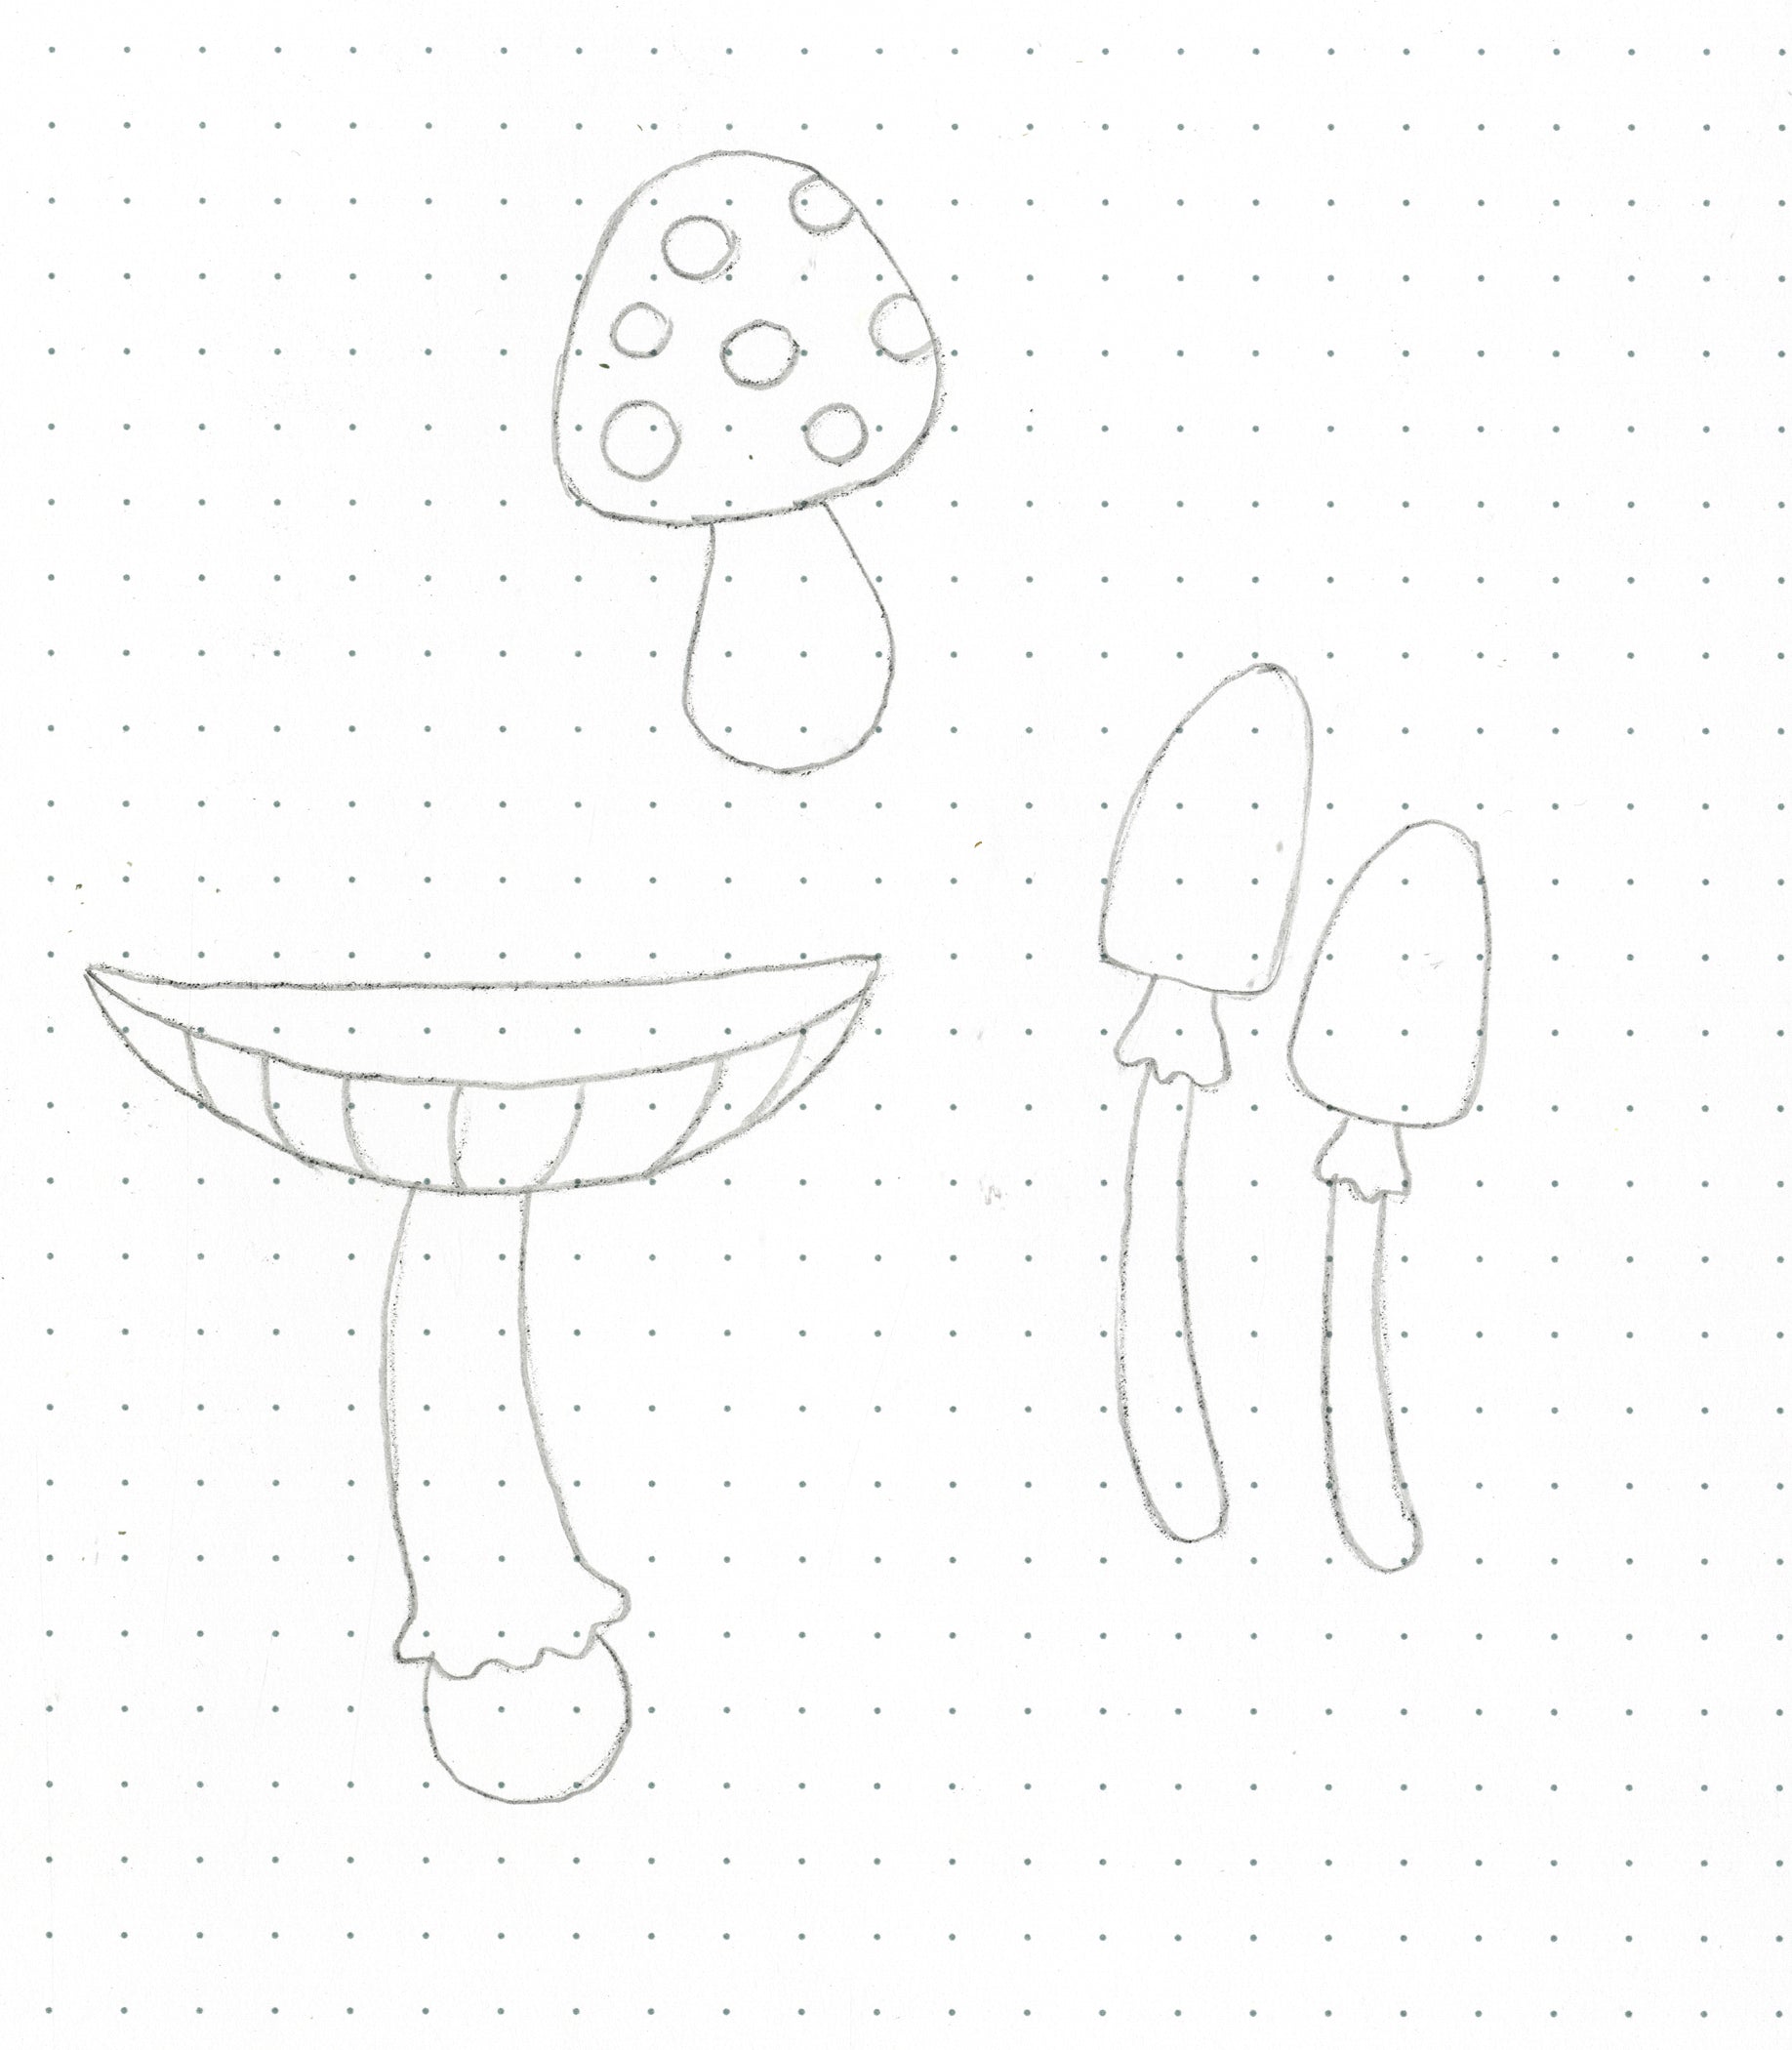
The first thing I do after gathering my supplies is draw my idea lightly with pencil. If you are worried about your drawing, try sketching ideas on a sheet of scrap paper before you tackle the journal page. I like using the Archer and Olive Notepads for artwork and then pasting the page into my journal. You can use these techniques on any color of paper, and if you mess up, you can start over without damaging your journal!

Base Color Stage
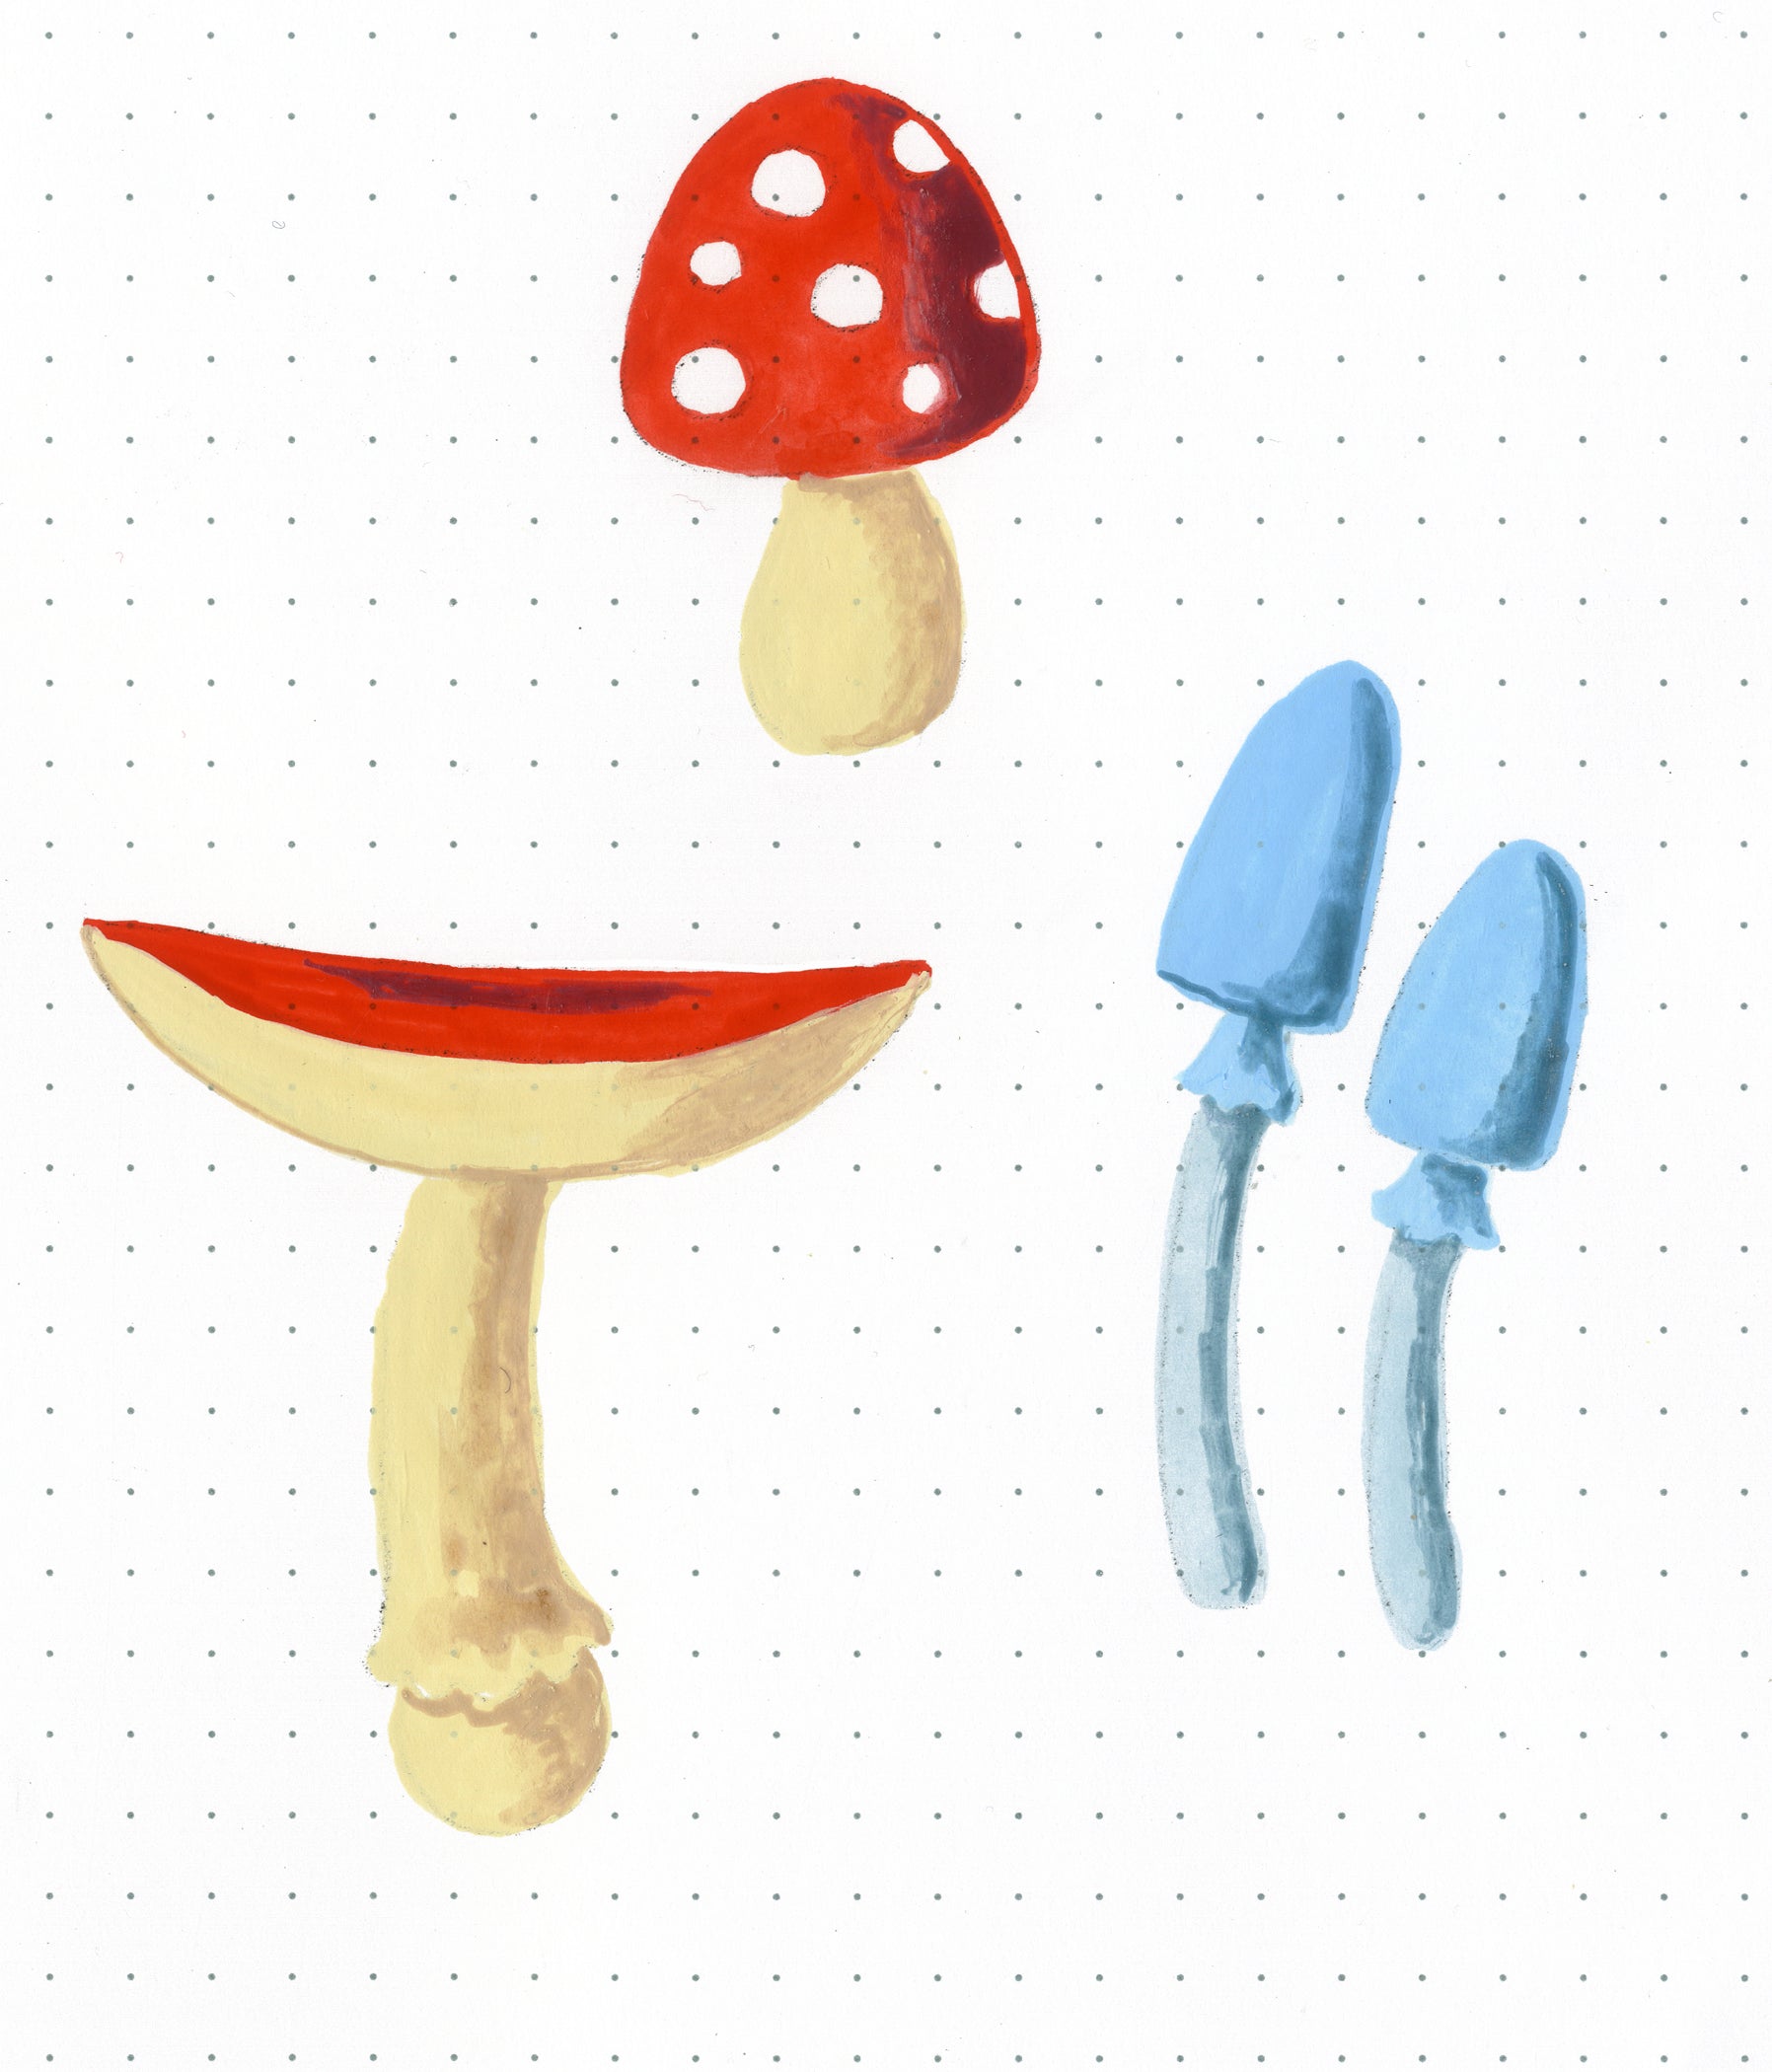
Next, I paint the base colors on the mushrooms. I used the Holbein Acryla Gouache here: Scarlet Red, Beige, Light Blue, Misty Blue, and Titanium White. Fill in the colors as shown.

Shading Stage
Did you know that you can blend Acrylograph markers with a wet brush? You must work quickly, before the ink dries. You can also make a puddle of ink on the blending palette that comes with the pens and pick it up with the brush. If you don’t need a smooth blend, you can just color with the pen as usual. For this step, I colored the shading onto the mushrooms, then blended it with a damp brush. I really like the way the Archer and Olive paper can handle a lot of media!

Highlights Stage
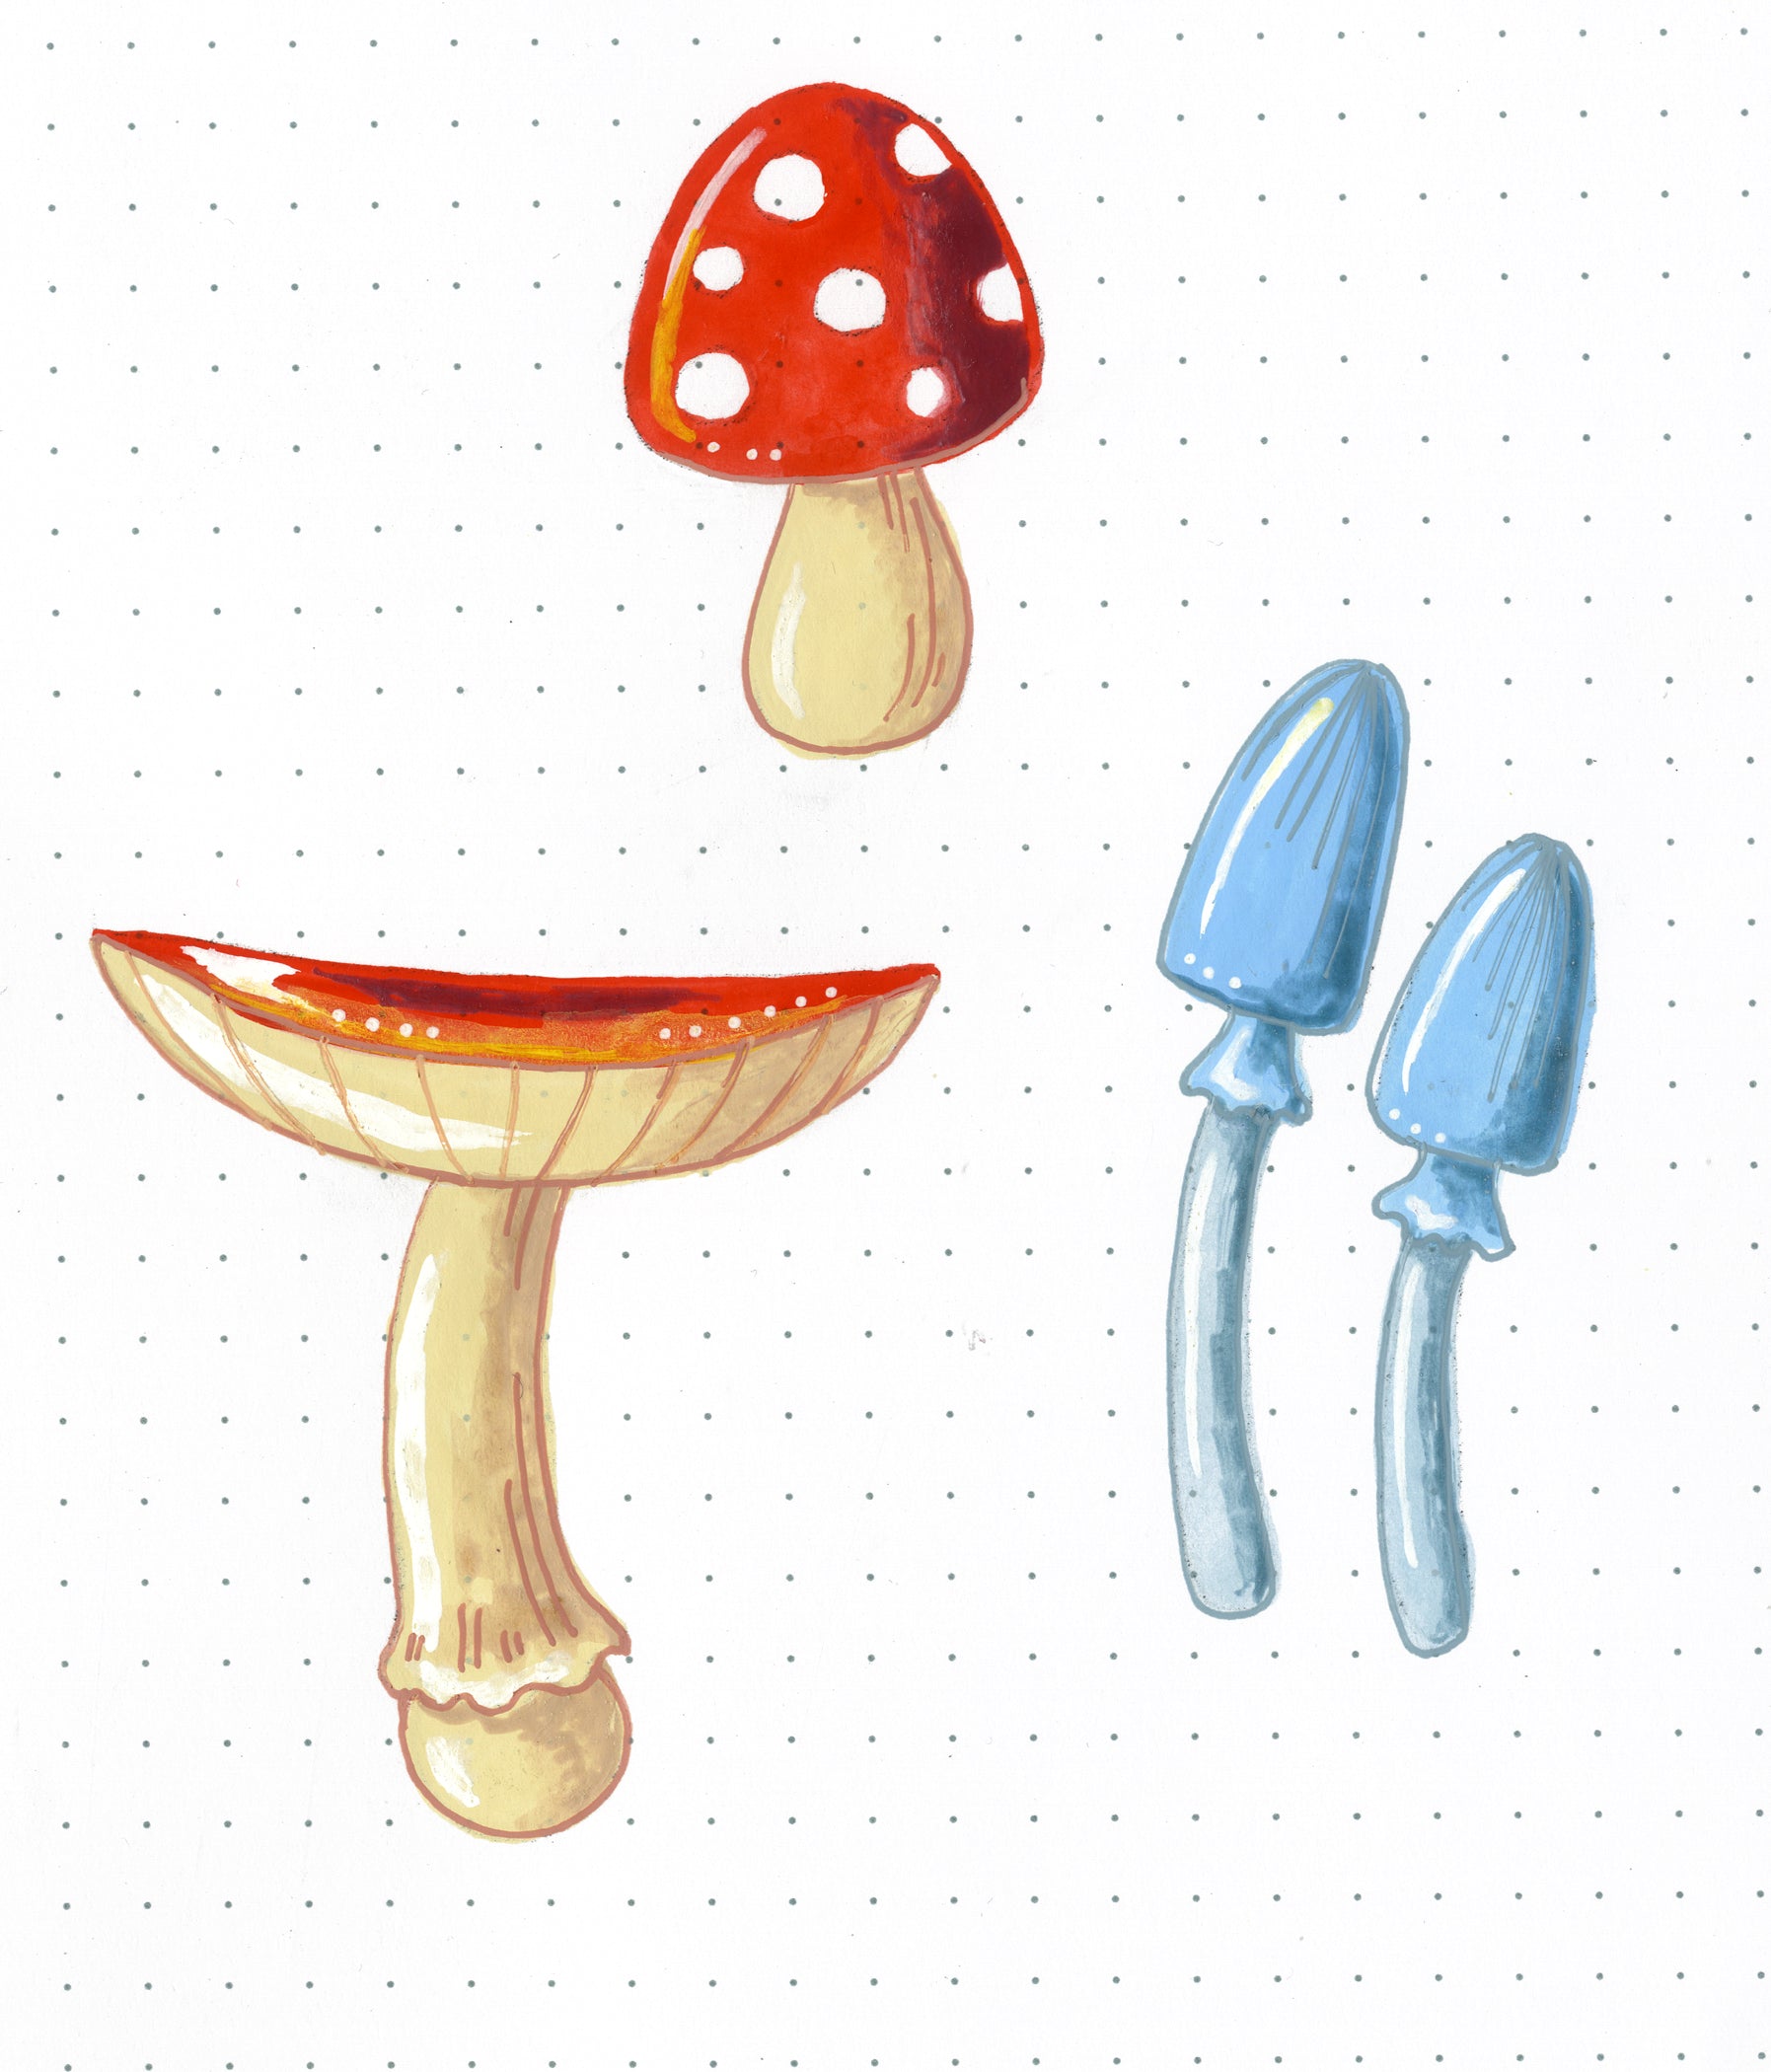
Adding highlights can bring your paintings to life. For this step, I used white and yellow Acrylograph pens. The primary highlights are white, and you can stop there, but I also added a little yellow to the red mushrooms, to help liven them up a bit.

Outlines and Details
This step is optional, although I personally like the way an outline looks. For this stage, I used the gel pens from the December subscription box. You could also use the Acrylographs or any other fine point pen. I outlined the mushrooms and added a few lines for details. I also added a few white dots for brightnes
Printable
Here is a printable for you of the pattern for my mushrooms. Trace them and use them for your own mushroom paintings!
Draw Along
Or if you want to doodle along with me, find my full tutorial here:
I hope you enjoy what you have seen, and I would love to see what you cteare! Tag me at @janemaday and use the #archerandolive. Take care of yourselves!


