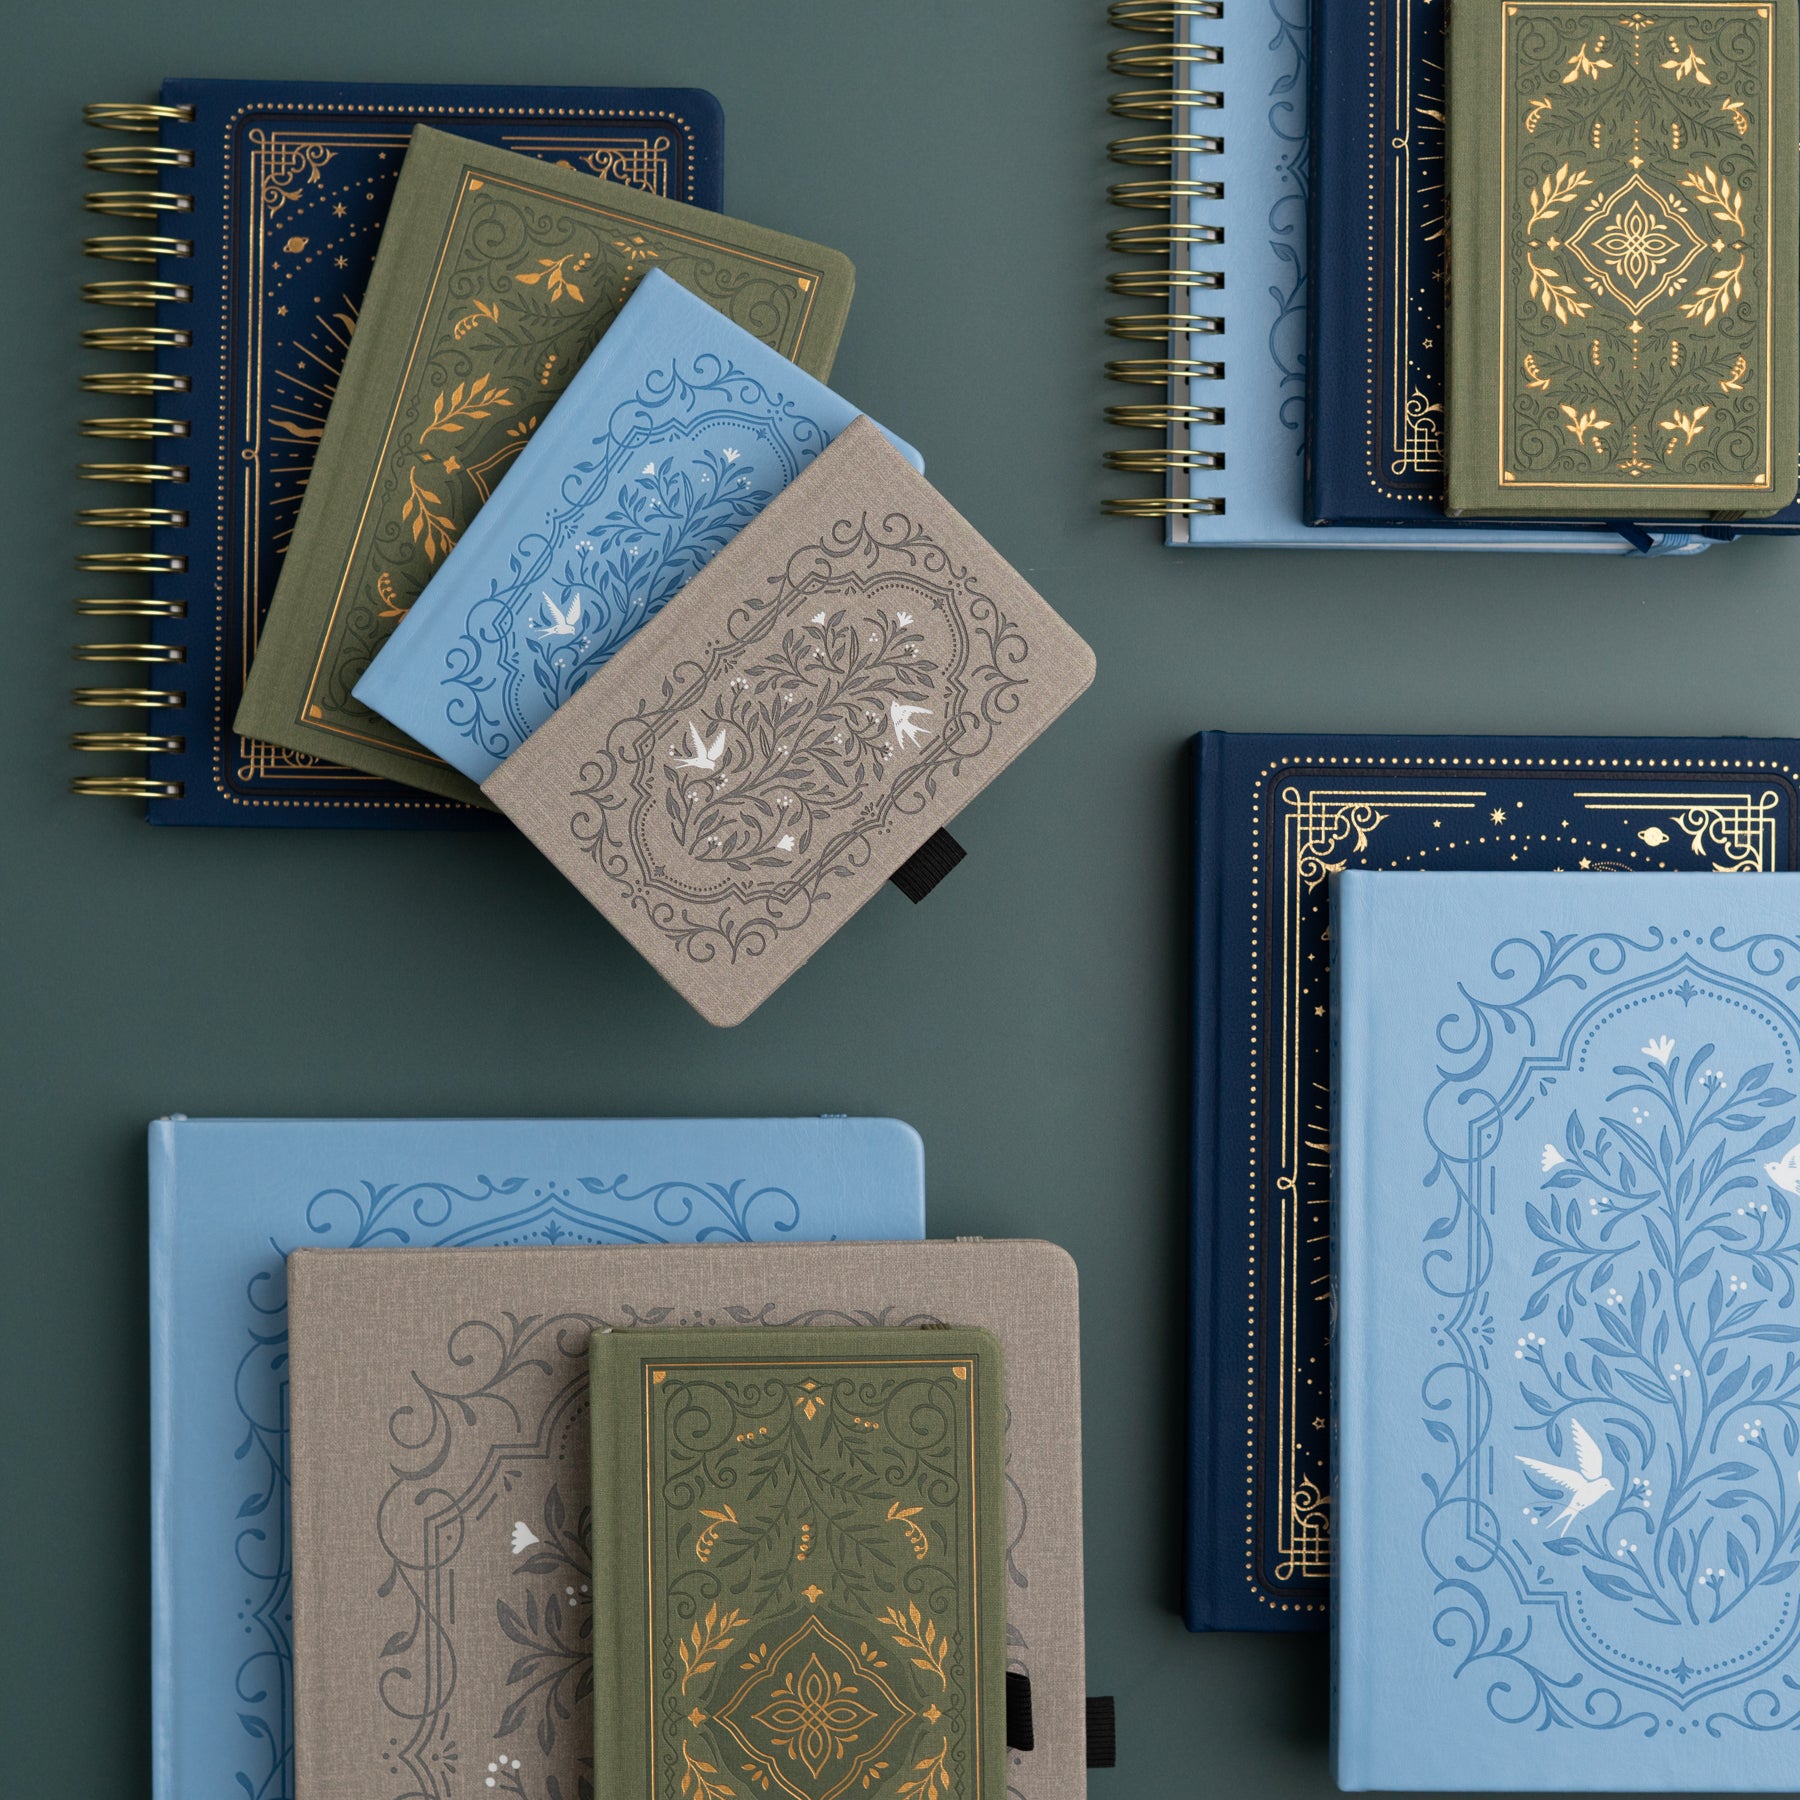
Hi Friends! It’s Rose here from @littlemissrose on Instagram and YouTube . I’m so excited to share with you this hack I learnt to trace any font (or image) into your Archer & Olive notebook.
As you know, Archer & Olive notebooks are high quality and have 160gsm paper in all of their notebooks. This is brilliant for avoiding ghosting and bleeding, but isn’t very helpful when you want to trace anything into your notebook because you cannot see through any of the pages!!
To get around this, here is a hack I’ve learnt to trace anything - fonts, headings, pictures - into your notebook.

Supplies Needed
To do this you will need:
- Archer & Olive Notebook (I’m currently using a Pink Bits Notebook)
- Copy paper
- Pencil
- Staedtler Pigment Liners
- Black Acrylograph
- White Acrylograph
Step 1: Decide what you want to trace
Before you start, first you need to decide what you want to trace into your notebook. For this example, I decided I wanted to create a simple quote page.
I created my quote using canva.com, which is a free online tool you can use to create documents. I decided on a quote, and chose various different fonts and created this page here which you can download and use to trace into your notebook here. Print the page onto any standard paper, you may need to scale this down to fit into your notebook.
If you were wanting to create fancy headings for your bullet journal, you could also use canva to type your headings in whichever font you choose and print it out.
Step 2: Shade the back with pencil
Once you have printed your quote or heading etc, cut the paper into a size that will fit onto your page, then flip the paper over. Using a soft pencil, colour over the back of your work. This pencil is what will end up being transferred into your notebook.

Step 3: Trace into your notebook
Position your printed paper on your notebook page, and then secure the top with washi tape. Using a pen or pencil trace over your design. The pressure of tracing this design will transfer the pencil on the back of the paper onto your notebook. You can check how this is working by flipping up the paper, as long as you have secured it with washi tape you don’t have to worry about the paper moving positions.

Step 4: Colour in your Design
After you finish tracing and is happy that your design has transferred to your notebook you can remove the paper and start inking and colouring in your design. And you’re done!

See the whole process here:
Now you know the hack to trace anything into your Archer & Olive notebook, you can use this to trace headings in fancy fonts into your bullet journals, illustrations designs, the possibilities are endless. I hope this post has been useful in helping your decorate you Archer & Olive Notebook, tag me @littlemissrose and @archerandolive to share your inspiration with us!


0 comments