10+ Self Care Doodle Tutorials For A Self Care Bullet Journal Spread
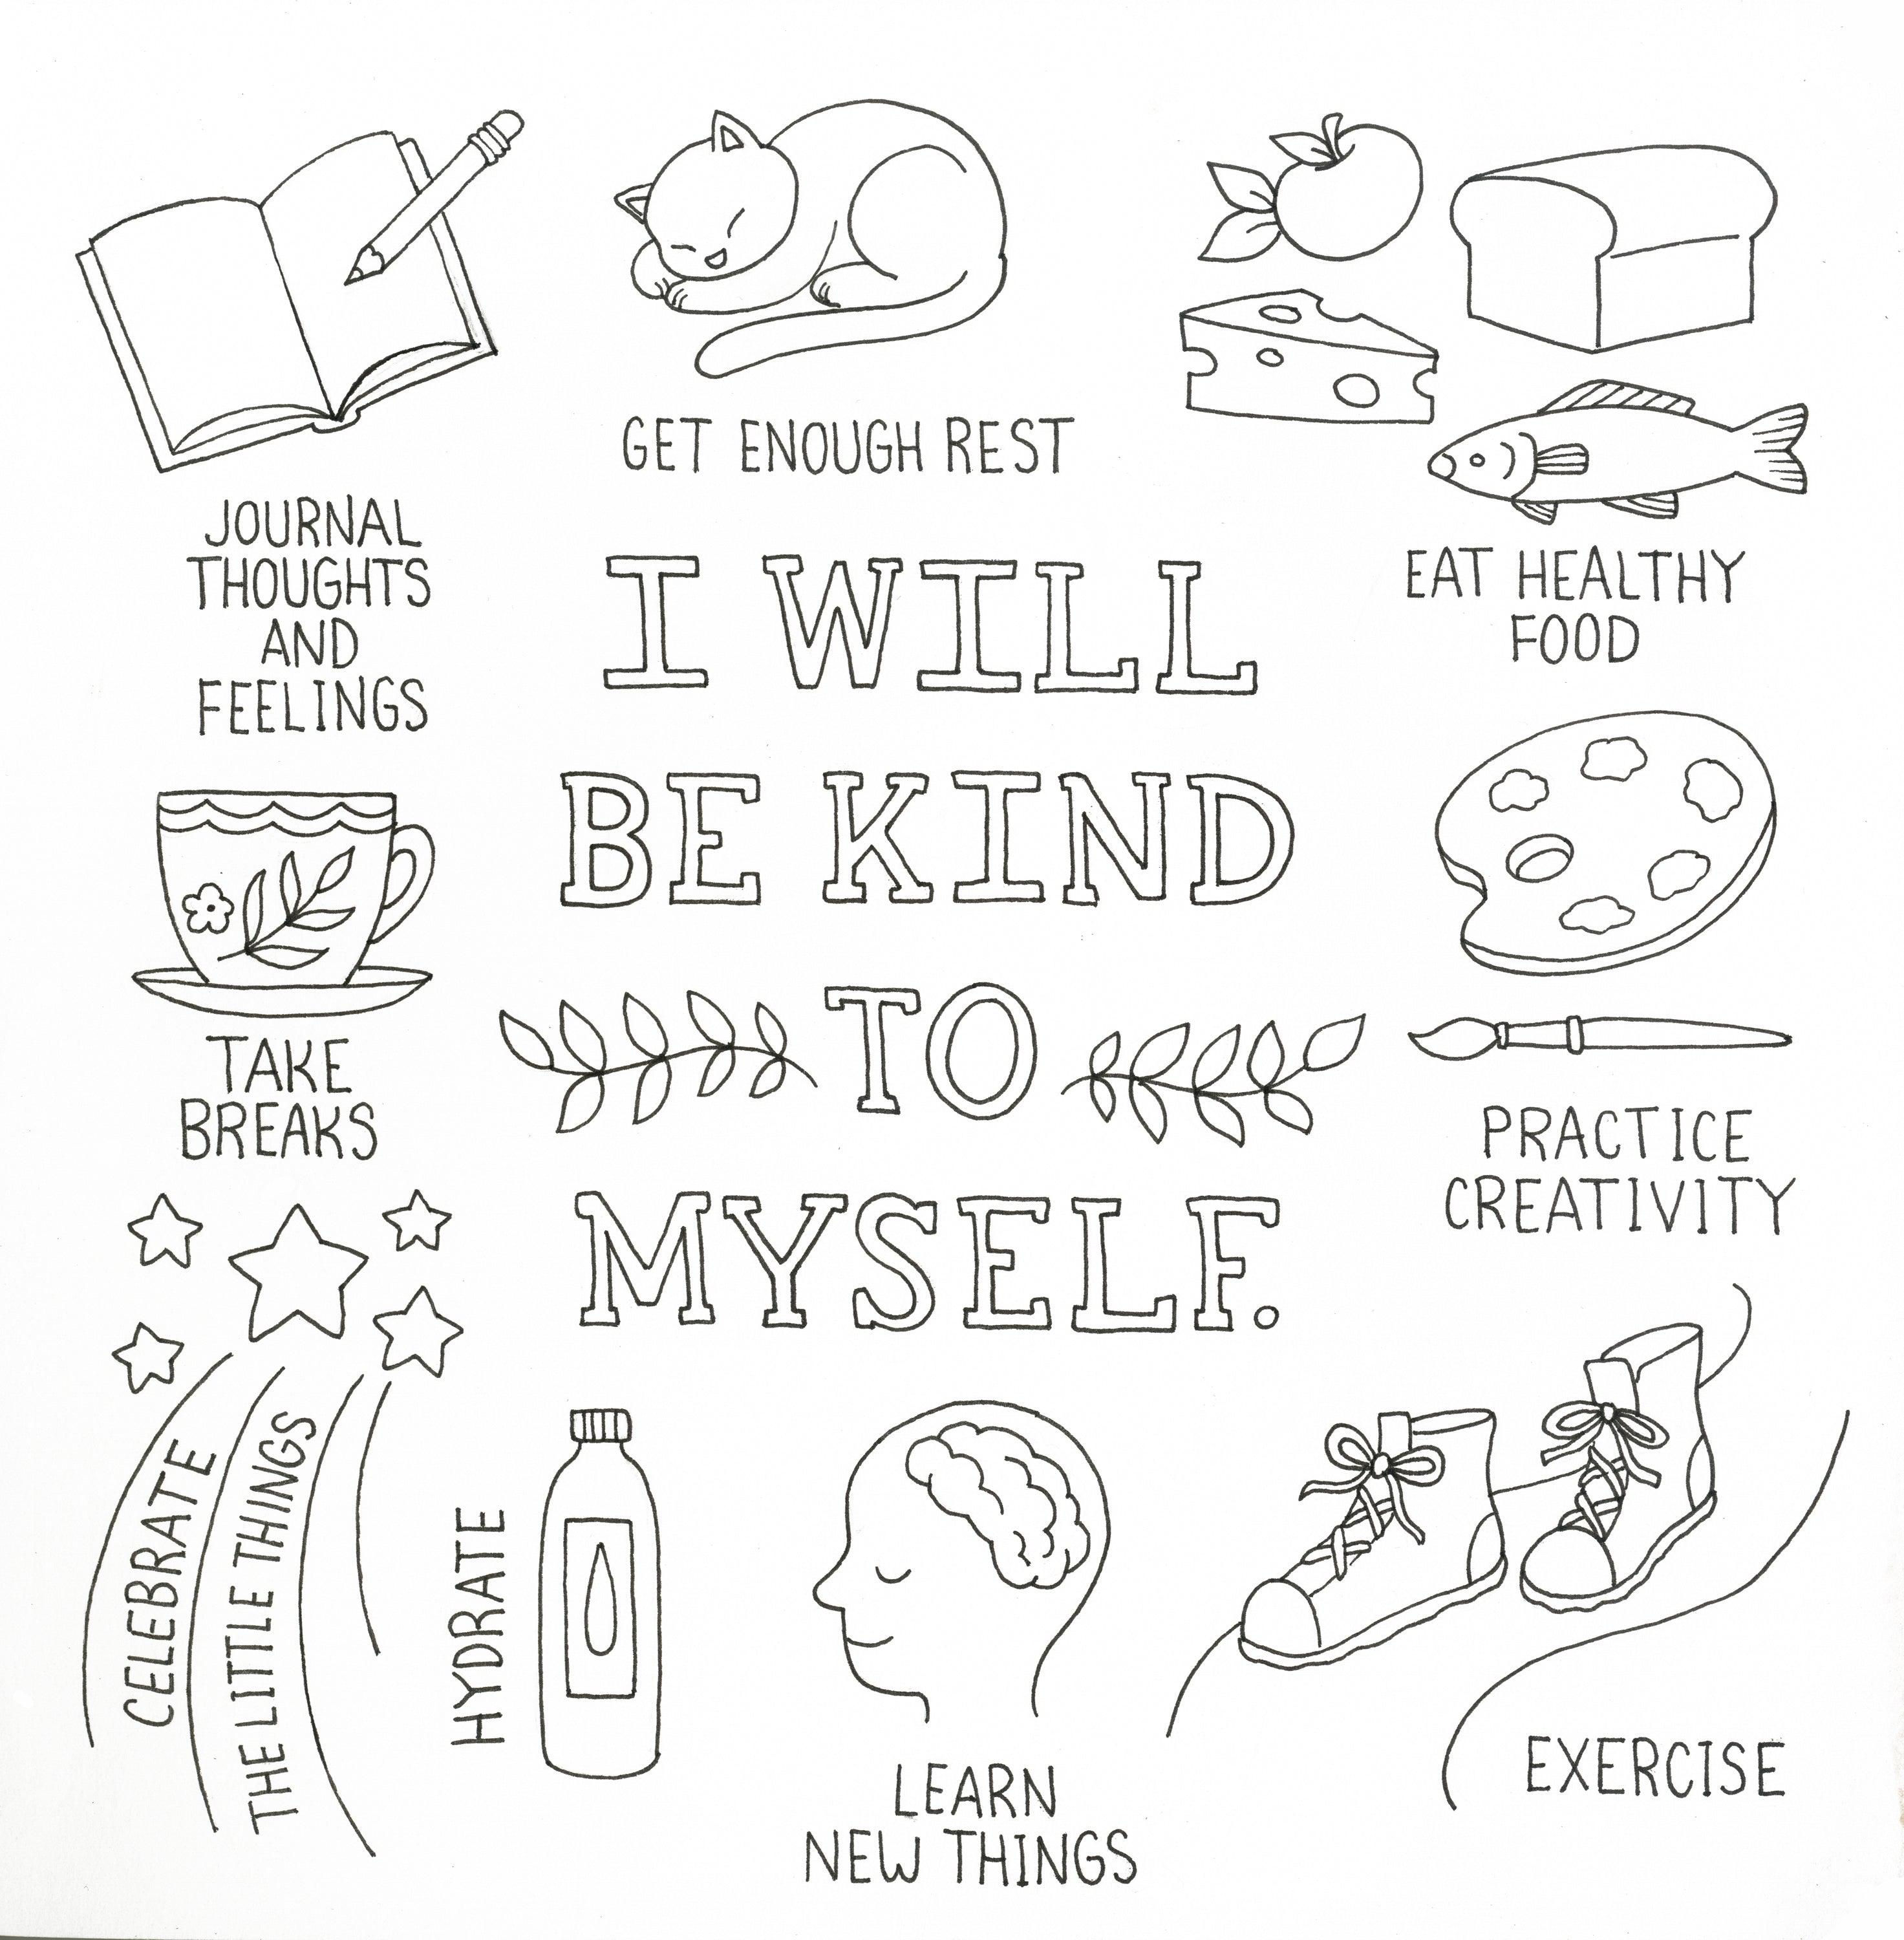
Hi, Jane Maday here, from @janemaday, and today I am going to be talking about creating a self care page in your journal. Life can be stressful, and for the New Year I decided to create a reminder page of things I can do throughout the year to help keep myself healthy and happy.
Lately I have been using my square Archer and Olive Pypah journal, and I will be adding color with Calliograph markers and other water based brush pens.
Supplies For Self Care Doodles:
- Pypah Journal from Archer and Olive
- Calliograph markers (Jewel Collection)
- Pigma Micron 01 black pen
- Tracing paper
- Graphite transfer paper
- Pencil and eraser
- Paintbrush and water
- Assorted other water based pens
- Blending palette (I used the one from a box of Archer and Olive Acrylograph pens, but you can also use a plain plastic or enamel palette or plate.)
If you wish to purchase any of the Archer and Olive products, you can get a 10% discount if you use my affiliate code: JaneMaday10.
PREPARATION STAGE
Once I have gathered all my supplies (and oh, how I love journaling supplies!), my next step is to create a pencil layout on the page. This step is pretty rough, just to make sure that everything fits in the space. I try to get my drawings precise enough that they are ready to be inked. Doing a lot of erasing damages the surface of the paper, so if I am not sure about a drawing I will doodle it on a sheet of tracing paper first, then transfer it when I get it right. The lettering at this stage is just a scribble to let me know how much space it will need.
LETTERING STAGE
After I know where everything will be, it is time to work on the lettering. Now, I know that lettering is something that is a challenge for me, so I always do it on tracing paper, and get it all correct. Then I transfer it to my journal page with graphite transfer paper. I have a demonstration of how I do this on my You Tube channel Doodle Bliss. You can find it here.
INKING STAGE
Next, I go over all the pencil lines with a waterproof black fineliner pen. Let it dry for a few minutes before you erase all the pencil lines, so they don't smear. Make sure the pen is waterproof, or the lines will bleed when you add color.
COLORING TECHNIQUE
Did you know that you can apply water-based markers to a palette, and use them like watercolors? This is especially helpful for shading. I also show how you can use the dual tips of the Calliograph pens to their best advantage. I like the watercolor technique for traveling with my journal, as it means I can take fewer supplies.
First, make a puddle of color with the marker on a blending palette. I used the one from a box of Acrylograph markers, but you can use any plain plastic palette. The types they sell for stamping and ink blending work well.
With a paint brush, pick up the color from the palette and use it to fill in the image, just like you would with regular watercolors.
The Calliograph pens have both a brush tip and a fine tip, so use the fine tip to draw the details once the base color is completely dry.
Finally, add a shadow under the object, and any other details, using various markers. It is important to let each layer dry, or the colors will bleed.
This video shows this coloring technique if you want to see more:
FREE PRINTABLE
Here is a printable page of self care stickers for you to color and add to your journal. Print them out on adhesive paper, or glue them in with a glue stick. I hope you enjoy them! I’d love to see what you create, so tag me with @janemaday and use the hashtags #archerandolive, @archerandolive.community, and #AOShare.
Take good care of yourselves!


6 Comments
I love these, thank you! The whole page is full of my goals, too. Bring on a beautiful 2023!